Feeling sluggish, stressed, or nursing a pounding headache? Inversions, a powerful category of yoga poses where your head is below your heart, offer a surprisingly effective way to combat these common ailments. From boosting circulation and oxygenating your brain to calming your nervous system and easing hangover symptoms, the benefits of inversions extend far beyond improved flexibility. These poses gently manipulate your body's systems, promoting a sense of well-being and restoring equilibrium. Whether you're a seasoned yogi or a complete beginner, the gentle yet profound effects of inversions can significantly enhance your overall health and vitality.
This guide provides a safe and accessible pathway to incorporating inversions into your daily routine. We will walk you through a step-by-step process, outlining several beginner-friendly poses that target blood flow, stress reduction, and even provide some relief from those dreaded hangover symptoms. Prepare to discover the transformative power of inversions and unlock a new level of physical and mental wellness.
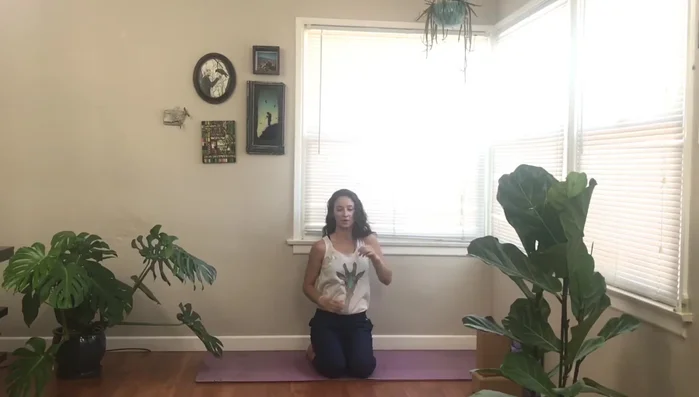
Safety Guidelines
- Listen to your body. Never force yourself into a pose. Stop immediately if you feel any pain or discomfort.
- Inversions can increase blood pressure. If you have high blood pressure, glaucoma, heart conditions, or are pregnant, consult your doctor before practicing inversions.
- Practice inversions on a soft, stable surface and ideally with a spotter, especially when starting out, to avoid injury.
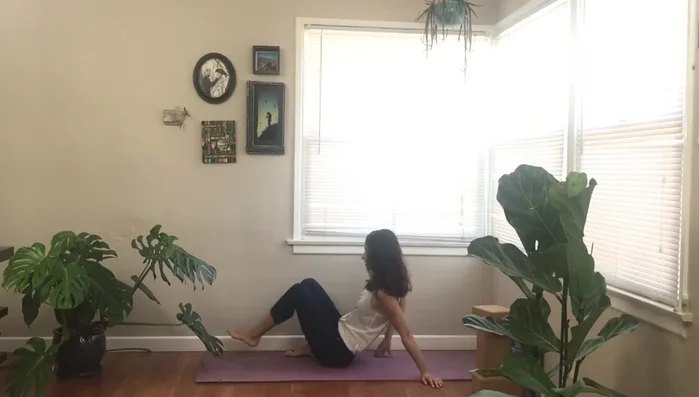
Methods: Legs Up the Wall Pose
Step-by-Step Instructions
Setup for Legs Up the Wall Pose
- Get your sit bones close to a wall.
- Send your feet on the wall, soles facing the ceiling.
- Place your hands at your sides or one hand on your belly and one on your heart.
- Active toes pointing towards your face, close your eyes.

Setup for Legs Up the Wall Pose Finding Relaxation in the Pose
- Feel your back body on the ground melting, feeling the support of the earth.
- Pay attention to your breath, taking complete cycles of breath.
- Notice any sensations in your feet.
Finding Relaxation in the Pose Coming Out of the Pose
- Gently bring your knees back together and come to your favorite side.
Tips
- Great for ending a long day, especially if you've been on your feet.
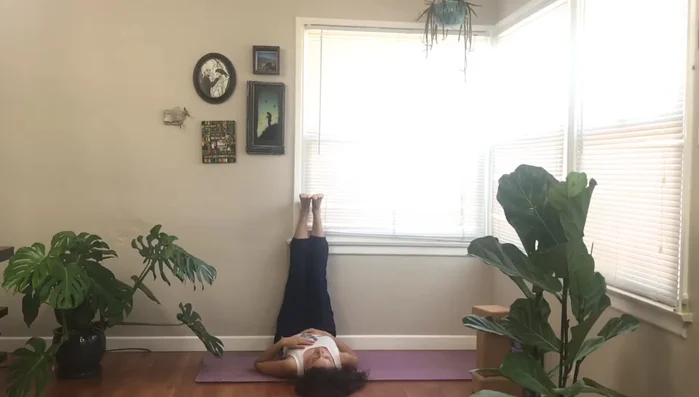
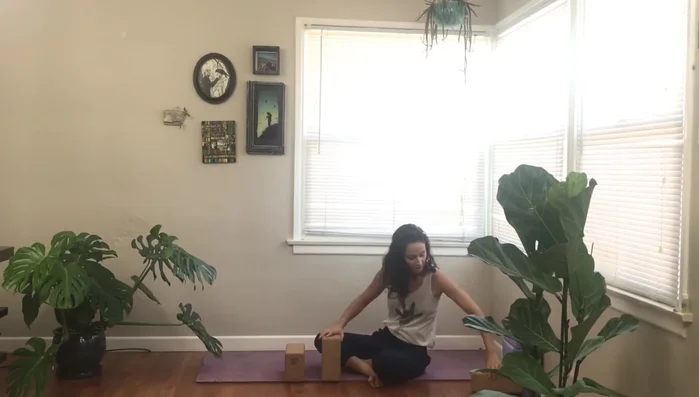
Methods: Supported Shoulder Stand
Tools Needed
Step-by-Step Instructions
Preparation for Supported Shoulder Stand
- Bring blocks underneath your sit bones (or use a blanket for support).
- Shift your shoulders back and forth to warm up.
Preparation for Supported Shoulder Stand Shoulder Warm-up and Activation
- Inhale, scoop your hands up; exhale, hands to your sides.
- Inhale, bring thumbs back; exhale, bring them in, rotating shoulders.
- Shoulder blades pinched together, active abs pressing lower abdomen towards spine.
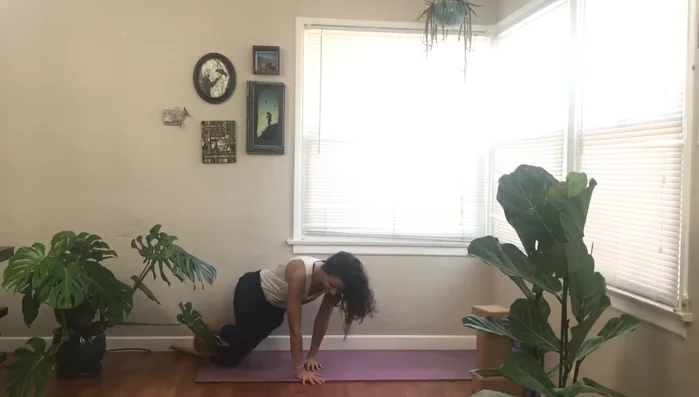
Shoulder Warm-up and Activation Transition to All Fours
- Gently bring hands to touch, thumbs to heartbeat.
- Shift forward, bring blocks to your sides, come to all fours.
Serratus Anterior Strengthening
- Move up and down in your shoulders (30 repetitions recommended).
Final Preparation and Spinal Extension
- Come to flat back, inhale gaze and tail up, exhale press earth away.
Tips
- Focus on engaging your serratus anterior muscle.
- Don't overextend your elbows.
- Don't stay in this pose for too long, especially as a beginner.
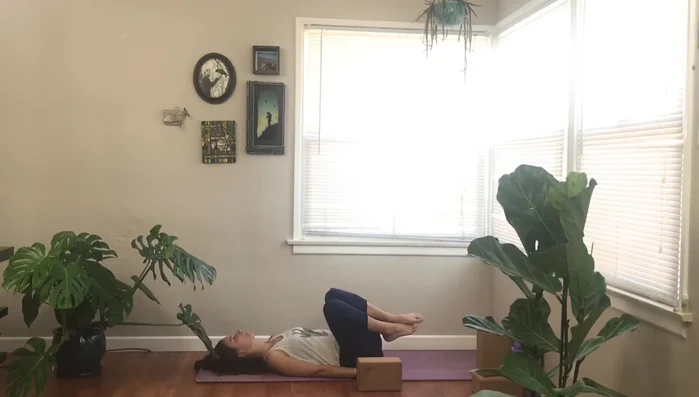
Methods: Supported Bridge Pose
Tools Needed
Step-by-Step Instructions
Supported Bridge Pose Setup
- Place a block under your lower back.
Entering Supported Bridge Pose
- Inhale, press your hips high; exhale, relax your neck and shoulders.
Exiting Supported Bridge Pose
- Exhale, one vertebra at a time, all the way down to your back.
Exiting Supported Bridge Pose
Tips
- Adjust block height to your preference.
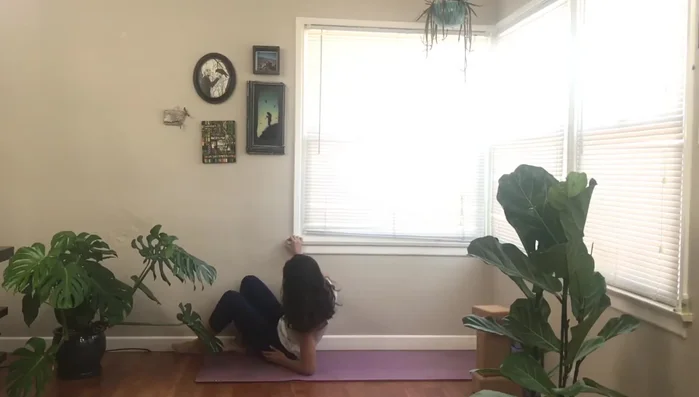
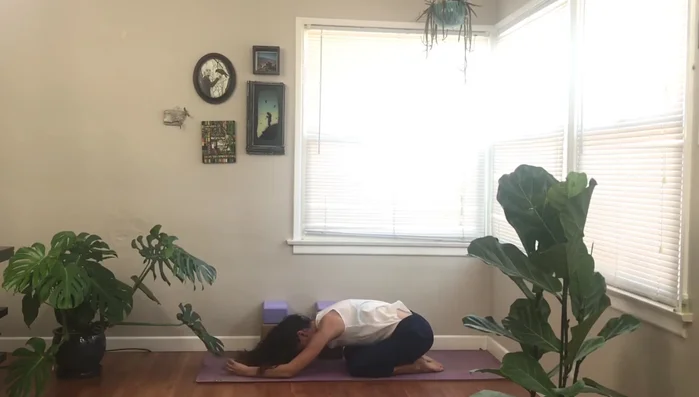
Methods: Supported Headstand
Tools Needed
- 6 blocks
Step-by-Step Instructions
Preparing the Blocks
- Set up 3 blocks hip-distance apart, with 3 softer blocks on top.
Preparing the Blocks Preparation Poses
- Come to all fours, inhale, exhale, flat back, tuck toes, exhale hips high for downward dog.
- Come to knees, sit bones towards ankles; place dominant hand’s thumb to nose, index finger on forehead.
Hand Placement and Positioning
- Basket your hands or open them and scoop your head inside.
Entering Supported Headstand
- Bring forearms down, basket hands, forehead to blocks.
- Inhale, lift knees; exhale, walk hands in; bring hips above shoulders.
Progression and Adjustment
- Bring one knee in, then the other; if adventurous, bring both feet up.
Exiting Supported Headstand
- Gently come down, child's pose.
Exiting Supported Headstand
Tips
- Don't pressure your neck; build neck strength gradually.
- Using blocks is beneficial for beginners.
Read more: Build Strength in Yoga Poses with Cork Blocks: 3 Effective Exercises