Yoga is often lauded for its flexibility benefits, but the journey to a perfectly executed Downward-Facing Dog or Lizard Pose can feel daunting for those less… supple. The images we see online frequently depict impossibly limber bodies, leaving many feeling discouraged before they even unroll their mats. But what if we told you that achieving these powerful poses, and reaping their numerous physical and mental benefits, is entirely achievable regardless of your current flexibility? You don’t need to be a contortionist to experience the strength and serenity yoga offers.
This article is your guide to conquering Downward-Facing Dog and Lizard Pose, even if you’re starting with a limited range of motion. We'll show you how strategically placed yoga blocks can transform these challenging poses into accessible and empowering practices, allowing you to build strength and flexibility gradually. Get ready to discover the transformative power of yoga, no matter your starting point; let's dive into a step-by-step process designed to help you master these key asanas with the support of blocks.
Safety Guidelines
- Listen to your body. Don't force yourself into any position that causes pain. Stop immediately if you feel sharp or shooting pain.
- Use props generously! Blocks are your friends. They help you modify poses to fit your current flexibility level, preventing injury and promoting proper alignment.
- Consistency is key. Regular practice, even for short periods, will gradually improve your flexibility and make these poses more accessible.
Methods: Modified Downward-Facing Dog with Blocks
Tools Needed
- yoga blocks
- wall (optional)
Step-by-Step Instructions
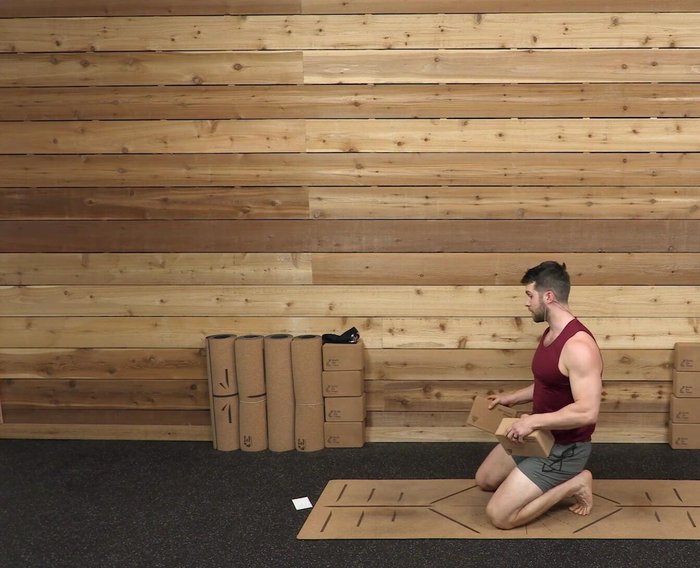
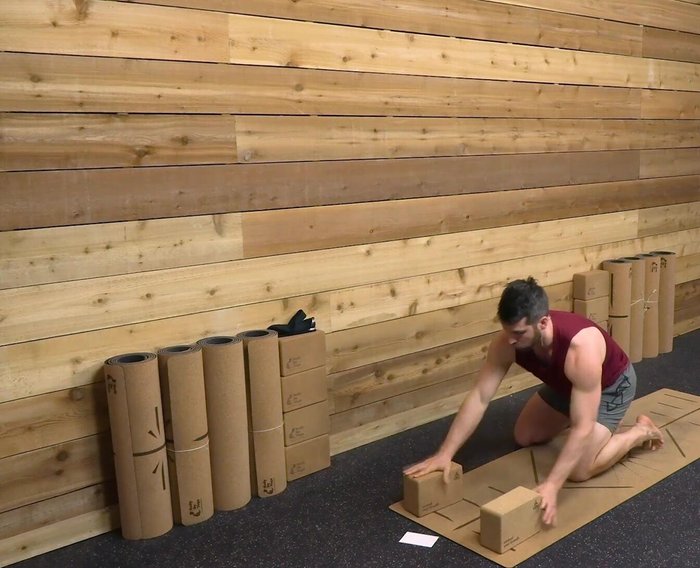
Set up Blocks
- Place blocks against a wall (for stability) or on the floor at medium or low setting.

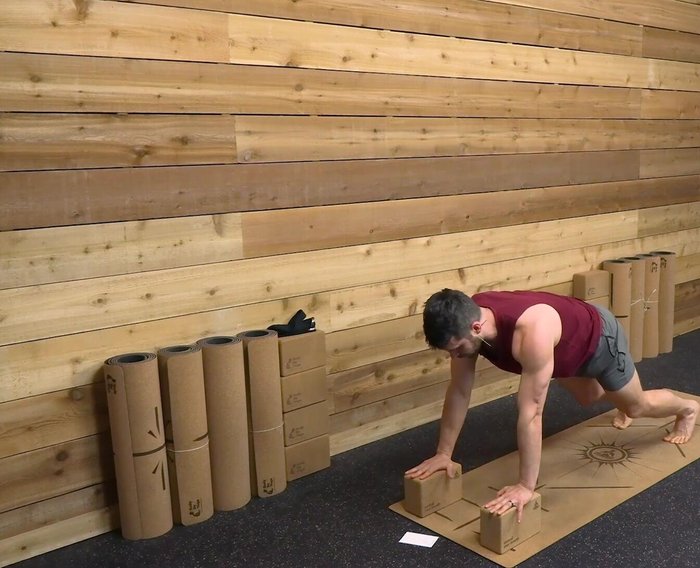
Set up Blocks Assume Plank Position
- Come into a plank position with hands on blocks.
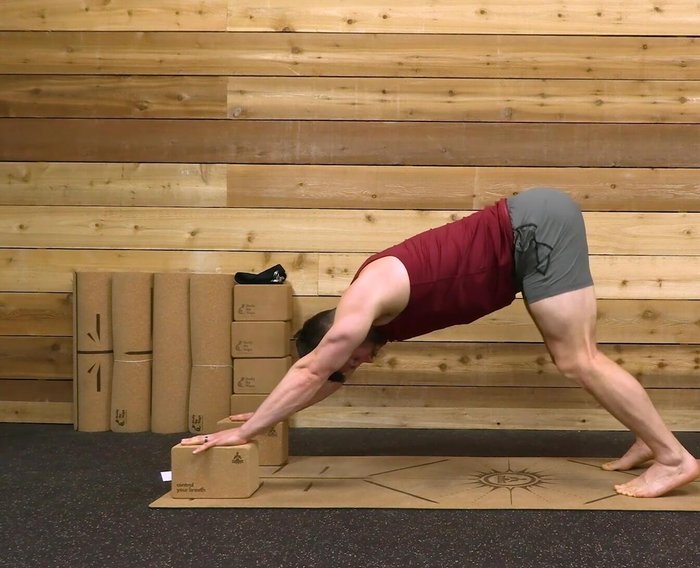
Assume Plank Position Initiate Downward-Facing Dog
- Bend your knees, shift your hips up and back, and press thighs backward.
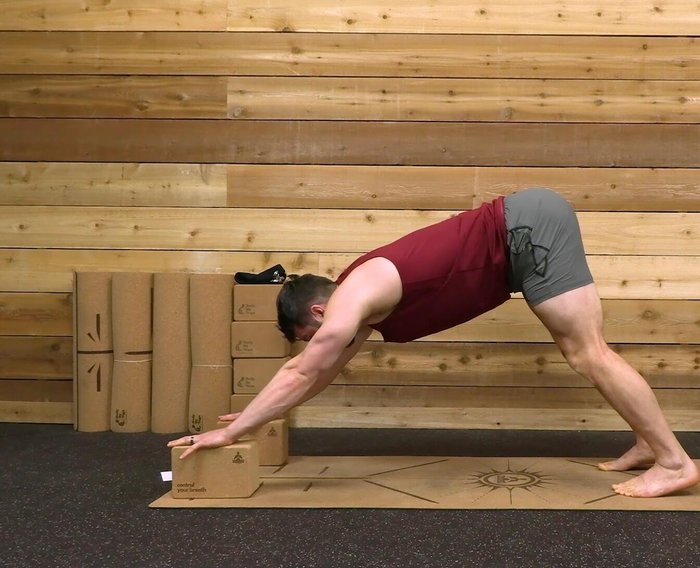
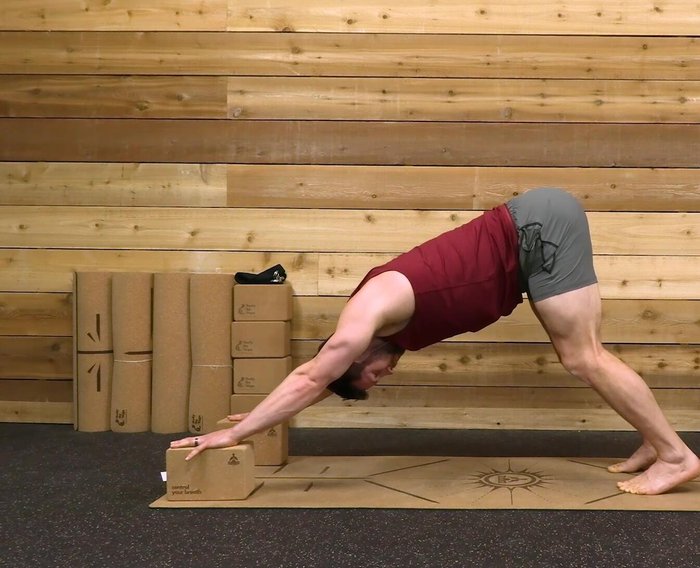
Initiate Downward-Facing Dog Maintain Proper Alignment
- Press down into the blocks evenly, ensuring weight isn't shifted too far forward.
- Lift your hips, aiming to flatten your spine (check in a mirror if possible).
- Keep arms locked out, chest towards toes, and back flat.
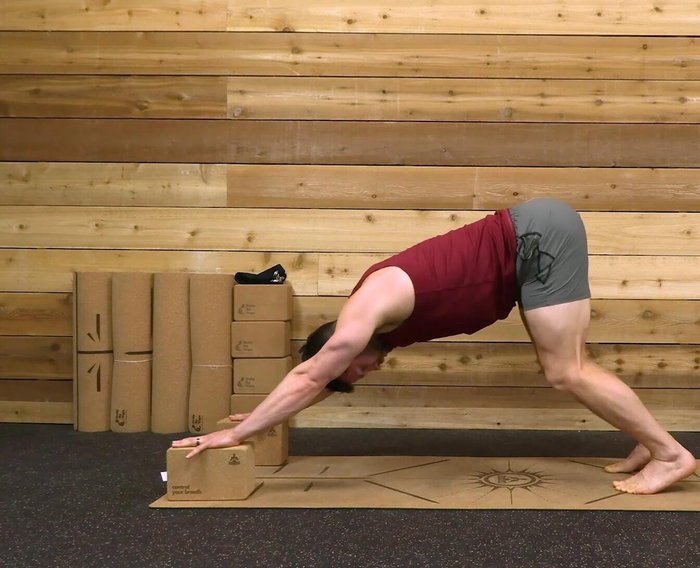
Maintain Proper Alignment Deepen the Stretch
- Focus on lengthening through the backs of your thighs and hamstrings.
Deepen the Stretch
Tips
- Bending your knees helps prevent back rounding.
- Consider this a strength exercise to build flexibility.
Methods: Modified Lizard Pose with Blocks
Tools Needed
Step-by-Step Instructions
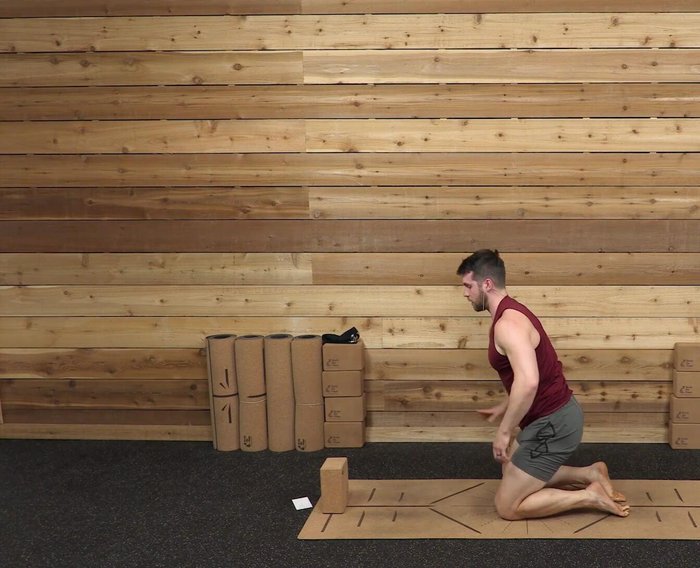
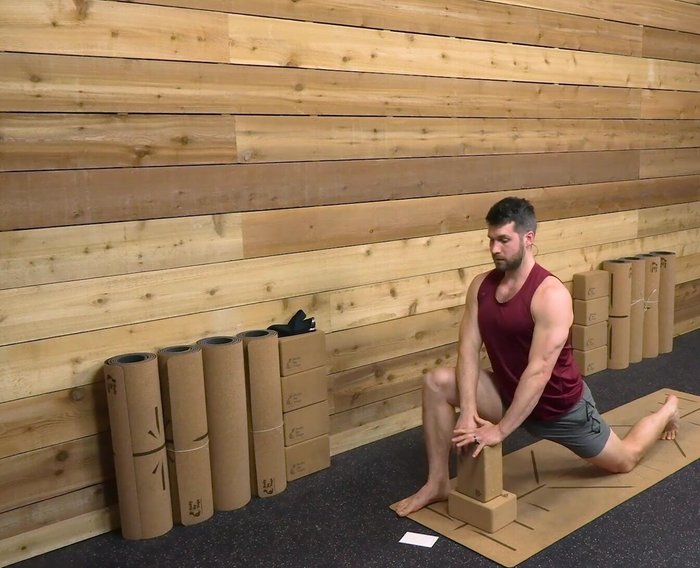
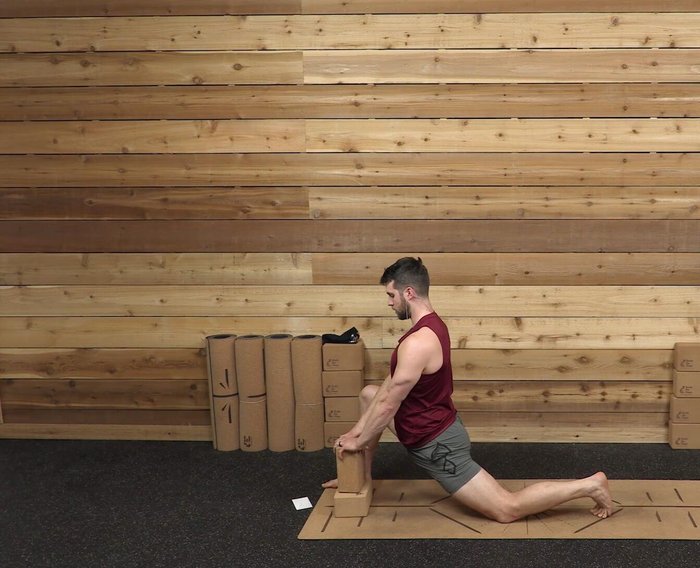
Setting up the Modified Lizard Pose
- Step your right leg outside a block, performing a deep lunge.
- Place additional blocks under your right knee for support, as needed.
Setting up the Modified Lizard Pose Maintaining Proper Form and Breathing
- Keep your shoulders, head, and neck relaxed; breathe deeply through your nose.
Maintaining Proper Form and Breathing Completing the Pose on the Opposite Side
- Repeat on the other side.
Completing the Pose on the Opposite Side
Tips
- Experiment with block height for optimal stretch; higher blocks for less flexibility.
- Maintain a flat back; don't round forward.
- Allow your hips to sink forward gradually.
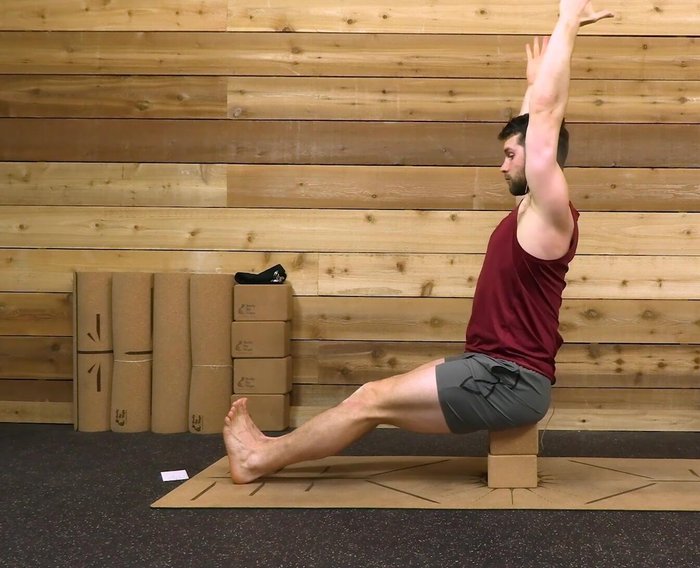
Methods: Seated L-sit (Staff Pose) with Blocks
Tools Needed
Step-by-Step Instructions
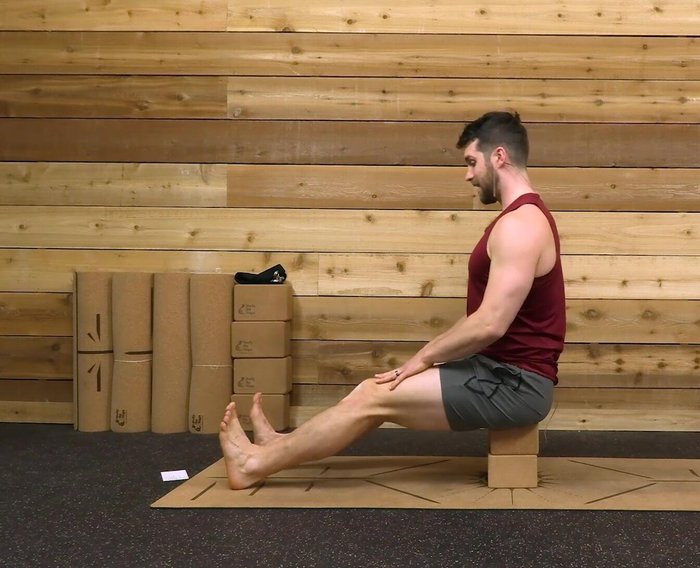
Setup
- Sit on one or two blocks, legs extended.
Posture
- Maintain an upright posture, slight bend in knees.
Posture Seated L-sit (Staff Pose)
- Extend arms overhead, lift chest, squeeze shoulder blades together, and press down through hips.
Seated L-sit (Staff Pose)
Tips
- Adjust block height to keep your back flat.
- Keep your back flat; avoid rounding.
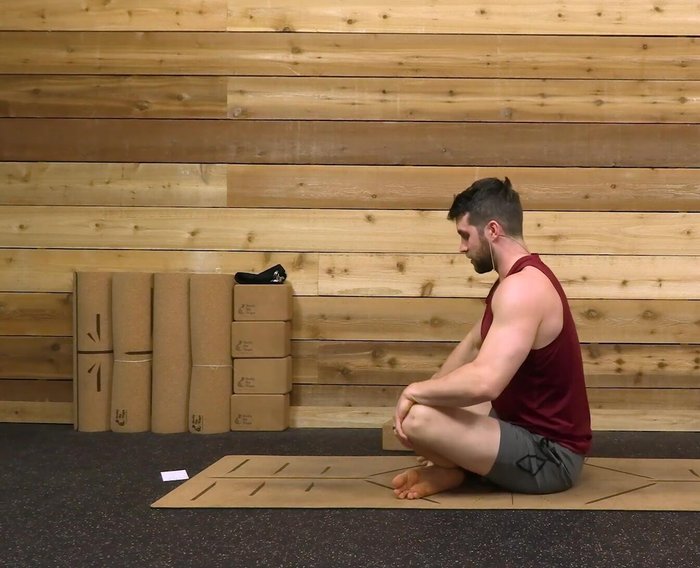
Methods: Cross-legged seated position with blocks
Tools Needed
Step-by-Step Instructions
Cross-legged Seated Position (Unassisted)
- Sit cross-legged, externally rotating your hips and pressing down through your hips.
- Lift your chest, maintaining an upright posture. You can hold onto your knees for support.
Cross-legged Seated Position (Unassisted) Cross-legged Seated Position with Block(s)
- Repeat with your butt on a block (one or two, as needed).
Cross-legged Seated Position with Block(s)
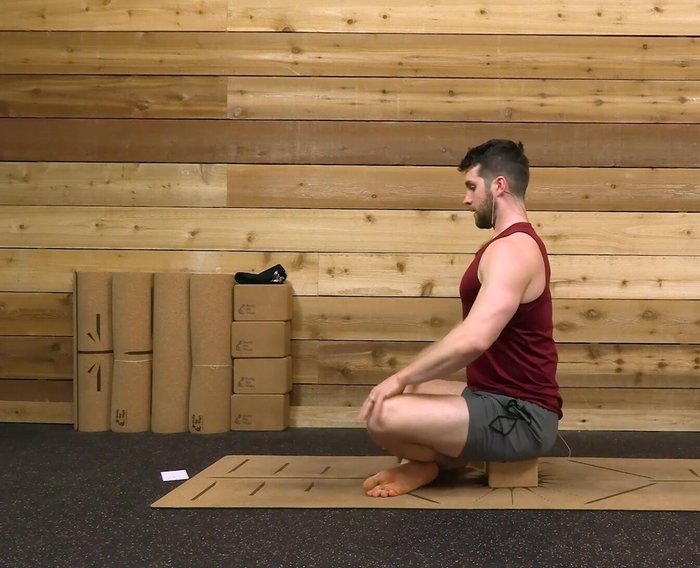
Tips
- The block allows for better posture and core engagement.
Read more: Build Strength in Yoga Poses with Cork Blocks: 3 Effective Exercises