Craving a sculpted, powerful core but short on time? Forget lengthy, grueling workouts – achieving killer abs is entirely possible in just 10 minutes! This high-intensity, yoga-inspired workout targets your entire core, from your deep abdominal muscles to your obliques, building strength and definition without requiring any special equipment. Say goodbye to sluggish workouts and hello to a leaner, stronger you. This routine focuses on challenging poses held for specific durations, maximizing results in minimal time. It's perfect for busy schedules, offering a powerful and effective way to strengthen your core and improve overall body posture.
Ready to feel the burn and sculpt those killer abs? We'll guide you through a step-by-step process of dynamic poses and isometric holds that will leave your core feeling both challenged and invigorated. Let's dive into this efficient 10-minute yoga abs workout and unlock the strength within!
Safety Guidelines
- Listen to your body. Stop any exercise that causes pain. Modify poses as needed to avoid strain.
- Engage your core throughout each exercise, focusing on proper form over speed or repetitions. Avoid jerky movements.
- Don't hold your breath. Maintain a consistent, controlled breath throughout the entire workout.
Methods: Spinal Balance with Lateral Extension
Tools Needed
Step-by-Step Instructions
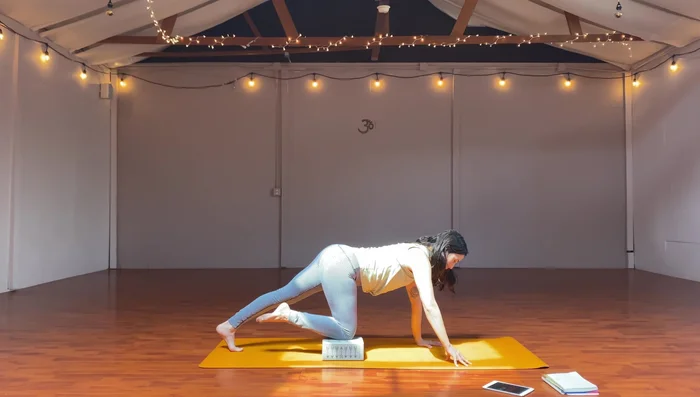
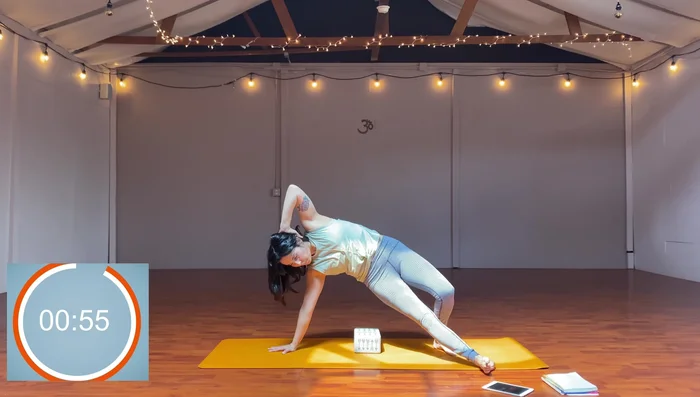
Spinal Balance with Lateral Extension (Right Side)
- Right knee on the block, left leg up, right arm up.
- Tuck knee to elbow, then lateral extension.
- Spread your arm and leg to the sides.

Spinal Balance with Lateral Extension (Right Side) Spinal Balance with Lateral Extension (Left Side)
- Repeat on the other side.
Spinal Balance with Lateral Extension (Left Side)


Tips
- Toes can come down if needed.
- Focus on tucking in the center and extending laterally.
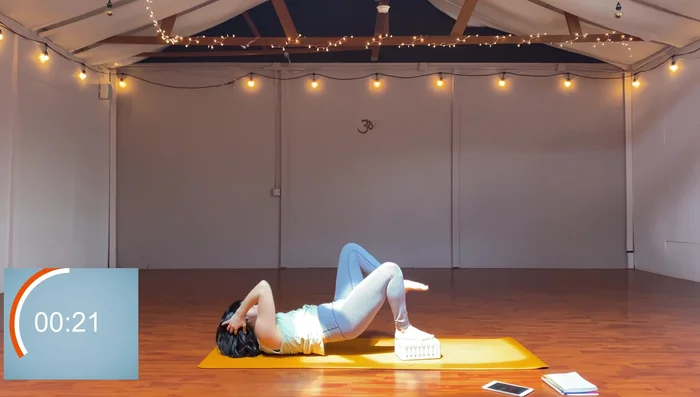
Methods: Block Sequence for Core Engagement
Tools Needed
Step-by-Step Instructions
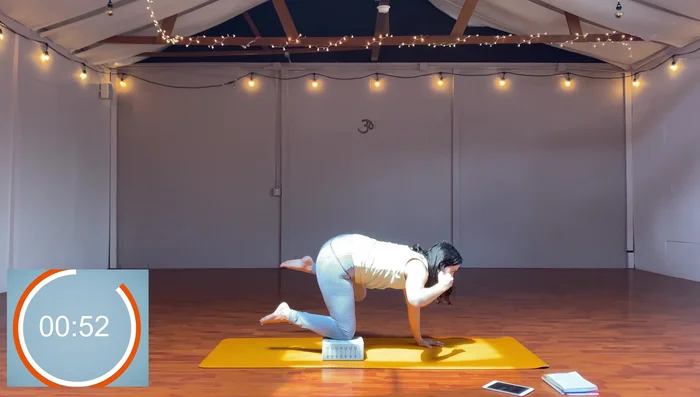
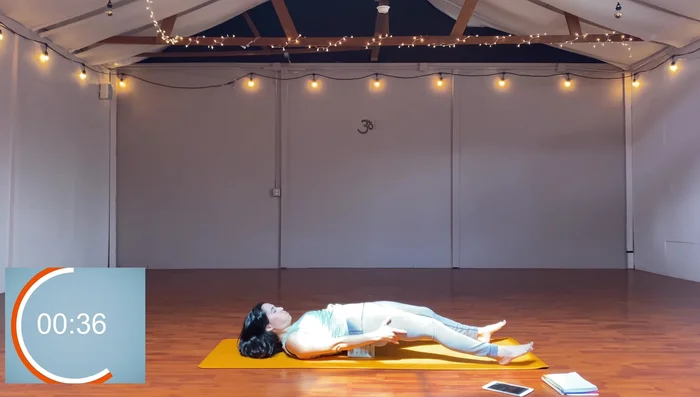
Initial Setup
- Toes on block, hands over chest. Lift shoulders and head or keep them down.
Initial Setup Leg Drops and Block Placement
- Drop right leg, bring it back to block, left leg, both legs.
- Straddle, reach block through legs, put block in feet, move block side to side.
Leg Drops and Block Placement Block Sequence Repetition
- Repeat sequence, focusing on leg drops and core engagement.
Block Sequence Repetition

Tips
- Press into hands and shoulders for support.
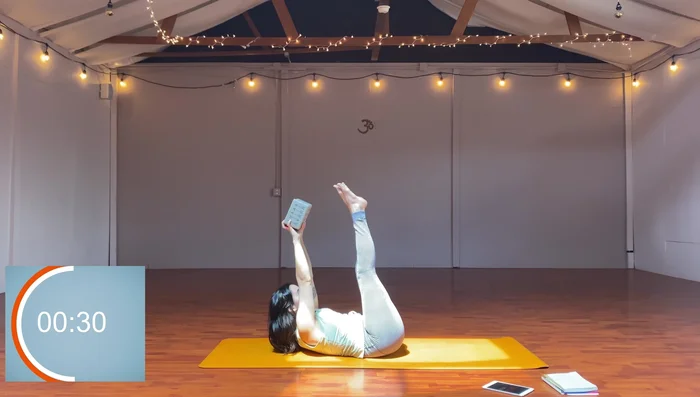
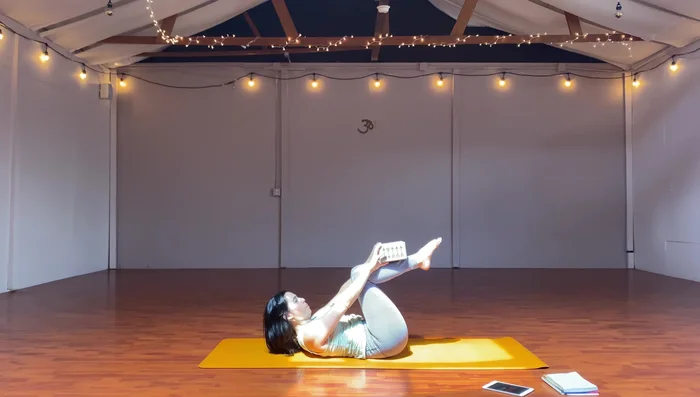
Methods: Block on Shins with Leg Extensions
Tools Needed
Step-by-Step Instructions
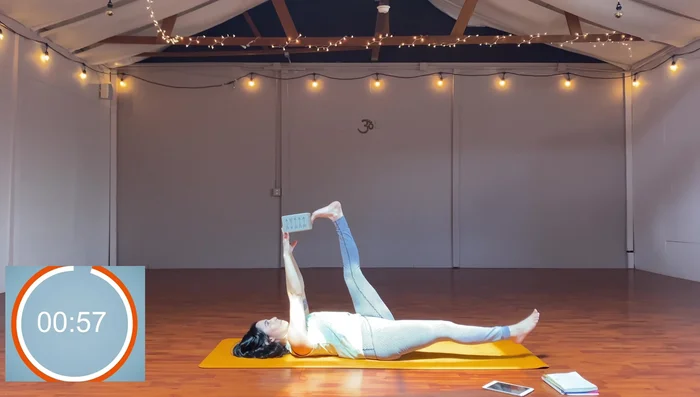
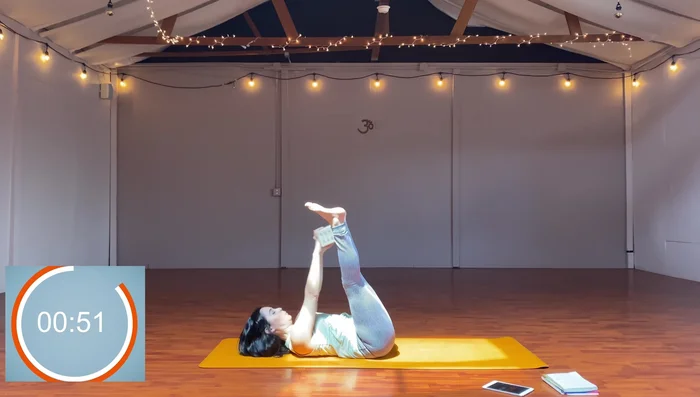
Block on Shins Leg Extension
- Block on shins, support head, extend legs, grab block, extend legs overhead.
Block on Shins Leg Extension Repeated Leg Extensions
- Repeat sequence, focusing on core engagement.
Repeated Leg Extensions

Tips
- Support neck if needed; modify by placing the block behind your head.
- Rest your head down if needed.
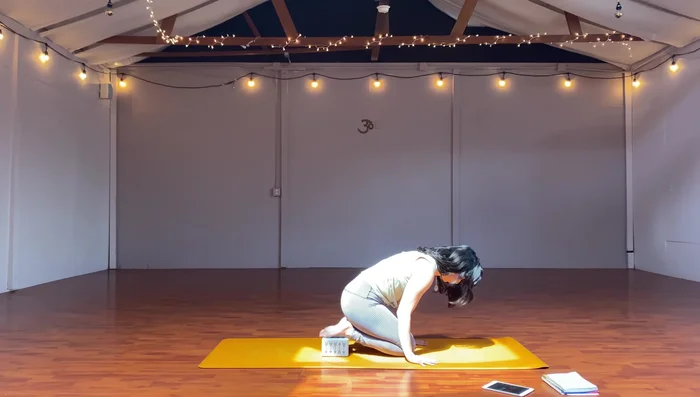
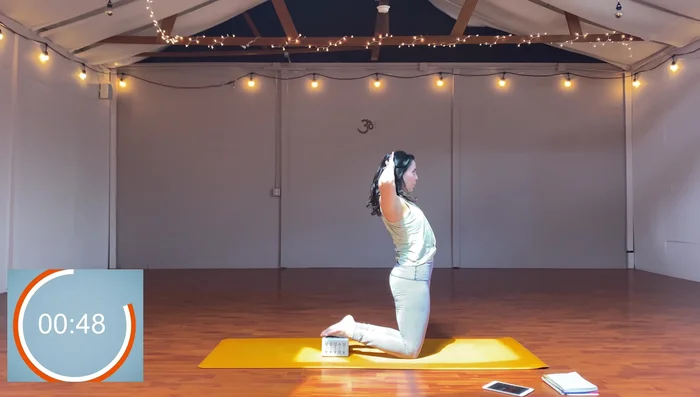
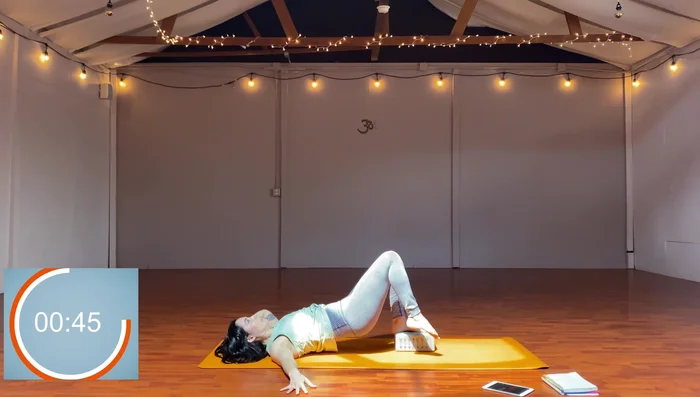
Methods: Low Lolasana with Hip Thrusts
Tools Needed
Step-by-Step Instructions
Low Lolasana Prep
- Kneeling position, hands under shoulders, lift hips, nose to knees, lower.
Low Lolasana Prep Low Lolasana with Hip Thrusts
- Hip thrust into kneeling pose, then handstand on hands, hips up.
Low Lolasana with Hip Thrusts
Tips
- Lift hips as high as possible; spread fingers and anchor down.
- Push shoulders down, lift hips, then lower knees, lift chest.
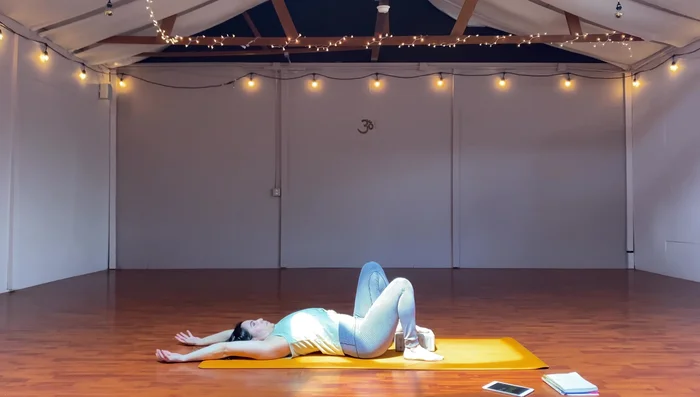
Methods: Single-Leg Bridge with Side Twist
Tools Needed
Step-by-Step Instructions
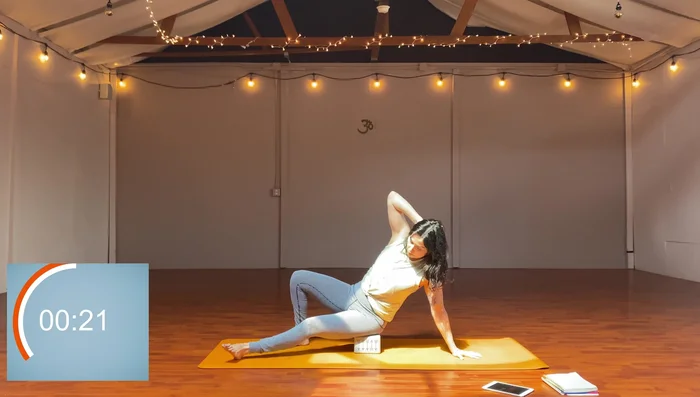
Single-Leg Bridge
- Left foot on block, thrust hips up, right knee to chest, lift right leg (single-leg bridge).
Single-Leg Bridge Add Side Twist
- Add side twisting crunch (oblique crunch).
Add Side Twist Repeat on Other Side
- Repeat on other side.
Repeat on Other Side
Tips
- Keep hips elevated for twisting crunches.
- Add upper body trunk rotation (elbow to knee) if possible.
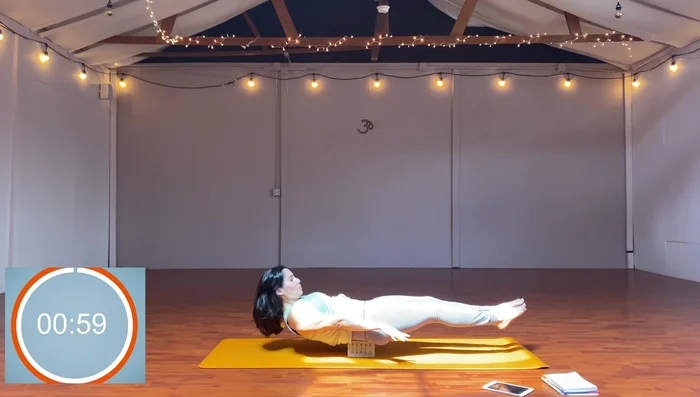
Methods: Low Boat on Block
Tools Needed
Step-by-Step Instructions
Low Boat
- Low back on block, peel body up into hollow back, hold, release.
- Repeat sequence, adding arm pumps.
Low Boat Block Between Feet Sequence 1
Block on Shins Sequence 1
Block on Shins Sequence 2
Low Lāsana Prep and Hip Thrusts
Bridge Pose with Leg and Hip Extensions
Side-Lying Hip Thrusts and Toe Taps
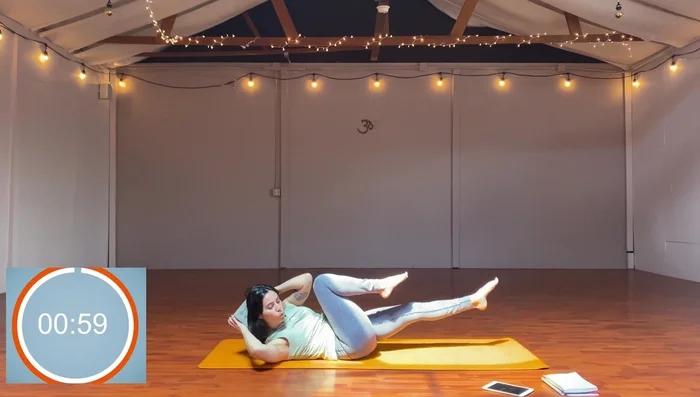
Criss-Cross and Russian Twists
Plank Tucks
Reverse Curls
Rolling Like a Ball
Final Stretches
Tips
- Tuck chin to avoid strain on neck.
Methods: Side-Lying Hip Thrust with Leg Taps
Tools Needed
Step-by-Step Instructions
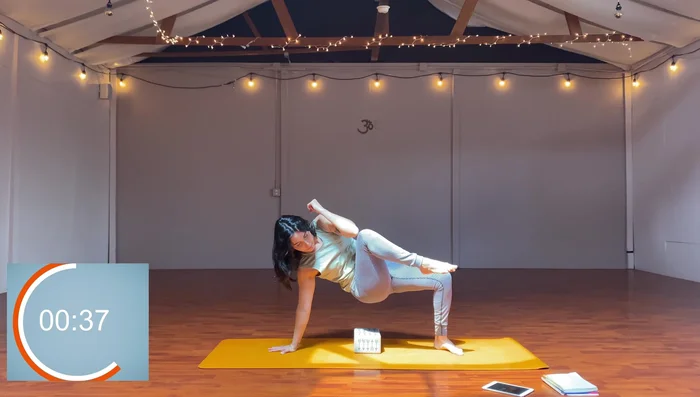
Side-Lying Hip Thrust with Leg Tap
- Side-lying, hip on block, extend leg, press into hand and top foot; hip thrust, leg toe tap.
Side-Lying Hip Thrust with Leg Tap Add Elbow-to-Knee Crunch
- Add elbow-to-knee crunch while keeping hips elevated.
Add Elbow-to-Knee Crunch Repeat on Other Side
- Repeat on the other side.
Repeat on Other Side
Tips
- Squeeze core and press into shoulder for support.
Methods: Criss-Cross and Russian Twist
Tools Needed
Step-by-Step Instructions
Criss-Cross
- Block behind head, lift shoulders and head, do criss-cross (bicycle crunches).
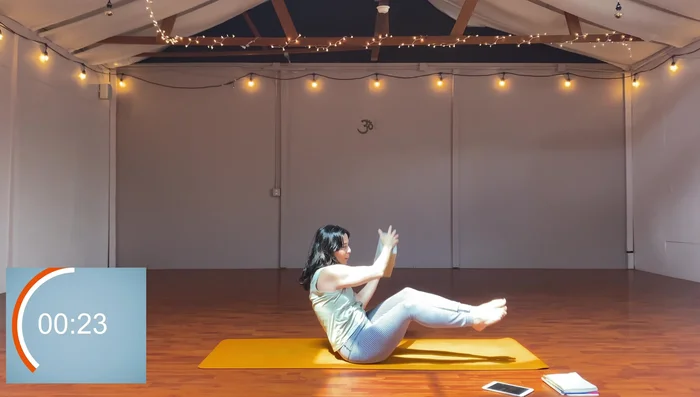
Criss-Cross Russian Twist
- Add Russian twist (block from hip to hip, knees in opposition).
Russian Twist
Tips
- Use core to pull shoulders off mat; modify by keeping feet down.
Methods: Reverse Curl with Block and Twist
Tools Needed
Step-by-Step Instructions
Reverse Curl with Block and Twist: Setup
- Block in hands, reverse curl up, toes on block; one leg lift, other leg lift; twisting knee tucks.
Reverse Curl with Block and Twist: Knee Tucks and Roll Down
- One knee crunch, other knee crunch, roll down.
Tips
- Maintain core engagement throughout; explore variations (single leg lifts, twisting).
Read more: Build Strength in Yoga Poses with Cork Blocks: 3 Effective Exercises