Yoga, a practice lauded for its physical and mental benefits, can sometimes present challenges depending on individual flexibility and body mechanics. Finding the perfect balance between comfort and proper alignment is crucial for maximizing your practice and preventing injuries. A simple yet often overlooked tool can significantly enhance your experience: the yoga wedge. This unassuming prop, easily crafted or purchased, offers a surprising array of possibilities for deepening stretches, improving posture, and making challenging poses more accessible. Its versatility allows yogis of all levels to refine their practice and achieve greater comfort and progress.
This article will explore the incredible versatility of the yoga wedge, unveiling its hidden potential to transform your yoga routine. We’ll delve into a step-by-step guide demonstrating creative and effective ways to incorporate this simple prop into a variety of poses, from gentle restorative stretches to more advanced inversions. Get ready to discover how this humble wedge can unlock new levels of flexibility, stability, and overall well-being in your yoga practice.
Preparation and Safety Guidelines
- Listen to your body. Never force yourself into a pose that causes pain. Discomfort is okay, but sharp pain is a signal to stop and adjust.
- Ensure the wedge is placed firmly and securely on a stable surface before using it. A slippery surface can increase the risk of falls.
- Start slowly and gradually increase the intensity or duration of your poses as you build strength and flexibility. Avoid overdoing it, especially when starting.
Step-by-Step Instructions
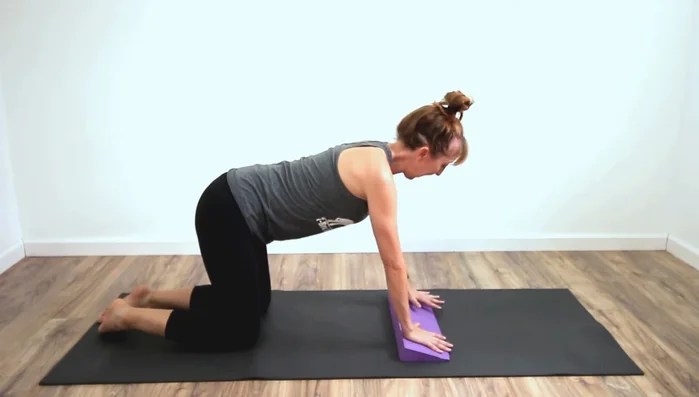
Wrist and Knee Support
- Place the wedge under your hands (or knees) to reduce wrist (or knee) strain in tabletop pose.

Wrist and Knee Support Modifying Downward-Facing Dog
- Use the wedge under your hands to alleviate wrist pain or under your heels to lengthen the pose and improve heel-to-floor contact.
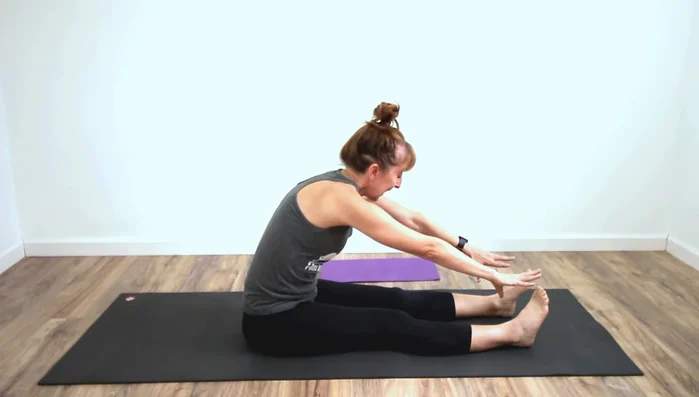
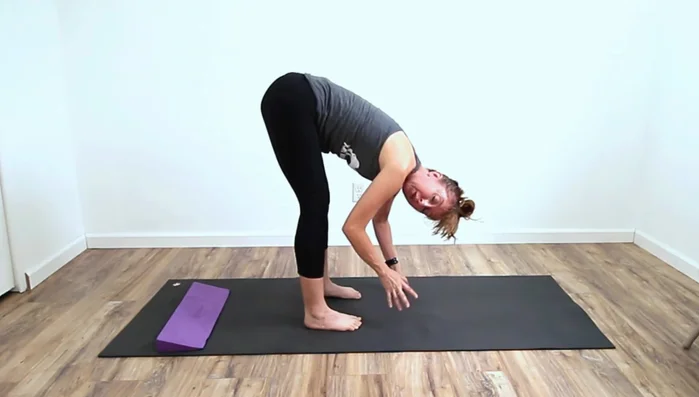
Improving Forward Folds
- Place the wedge under your hips to tilt your pelvis forward, encouraging a deeper forward fold from the hips rather than rounding the spine.
- Determine if tight hamstrings or calves are limiting your forward fold by using the wedge under your heels. If it allows you to go further, it indicates tight calves.
Improving Forward Folds Enhancing Standing Poses
- Place the wedge under the heel of your back leg in standing poses like Warrior I or Pyramid Pose to promote better hip rotation and alignment.
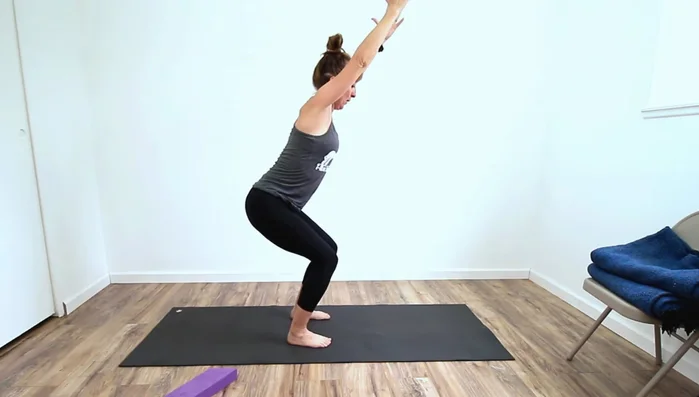
Modifying Seated and Standing Poses for Deeper Stretches
- Place the wedge under your heels to improve ankle mobility and allow a deeper chair pose.
- Use the wedge under your heels to facilitate a deeper squat by supporting the heels and improving ankle flexibility.
Modifying Seated and Standing Poses for Deeper Stretches
Read more: Yoga for Strength and Flexibility: A Guided Practice with Blocks
Tips
- Experiment with placement: The wedge can be used under hands, knees, hips, or heels depending on the needs of the pose.
- Listen to your body: Don't force any pose. Use the wedge to support your body's limitations, not to push beyond them.