Finding the perfect meditation posture can be transformative, but investing in a high-quality zafu cushion can be surprisingly expensive. Luckily, crafting your own comfortable and supportive meditation cushion is easier than you think! This DIY project allows you to personalize your practice, choosing fabrics and fillings that suit your individual needs and aesthetic preferences, all while saving money. Imagine the feeling of settling into your custom-made zafu, perfectly tailored to your body and embodying your mindful intention. The peace and comfort you experience will be well worth the effort.
This simple tutorial will guide you through the process of creating your very own zafu meditation pillow, step-by-step. Whether you're a seasoned meditator or just beginning your journey, this project is perfect for anyone looking to enhance their practice with a handcrafted touch. Let's get started!
Preparation and Safety Guidelines
- Durable fabric (upholstery fabric or quilting cotton)
- Scissors or rotary cutter
- Pins
- Hand needle
- Thread
- Sewing machine
- String or selvage
- Ruler
- Stuffing (polyester fiberfill, fabric scraps, cotton batting, etc.)
- Use a sturdy fabric that can withstand the weight of the filling and regular use. Avoid delicate or easily torn materials.
- Ensure the filling is evenly distributed to prevent lumps or discomfort during meditation. Adjust as needed during the filling process.
- Be mindful of the filling material you choose; avoid anything that could cause allergic reactions or be harmful if inhaled.
Step-by-Step Instructions
Prepare Materials
- Iron your fabric before cutting.

Prepare Materials Cut Fabric Pieces
- Cut a piece as tall as your desired cushion height (plus seam allowance - 1 inch is recommended). Fold fabric in fours to simplify cutting long pieces.
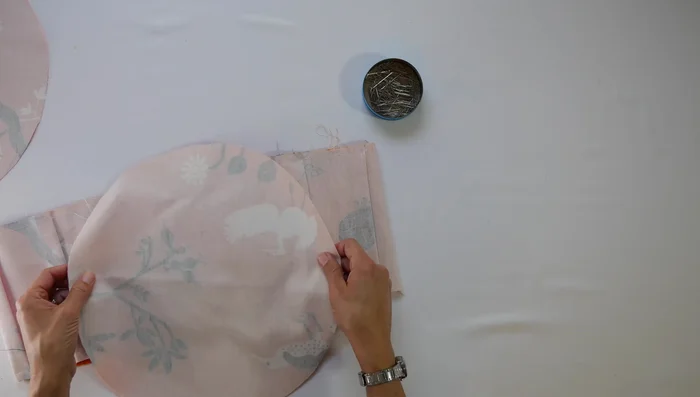
- Cut two circles, adding seam allowance (1/2 inch is recommended). Use a string and pin to accurately trace the circles.
Cut Fabric Pieces Mark and Create Pleats
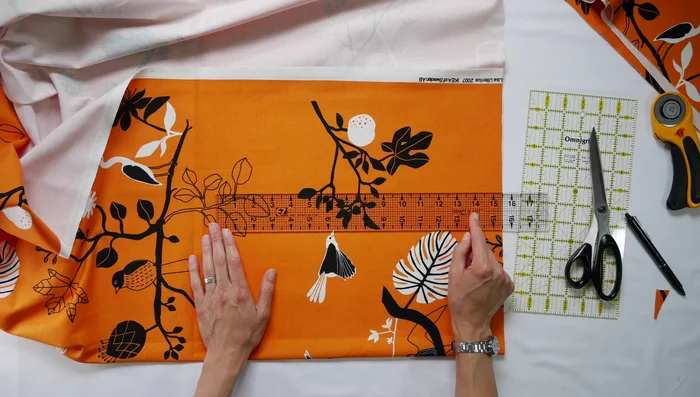
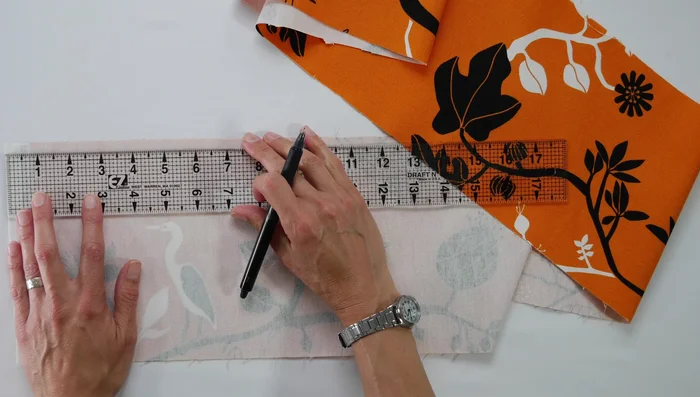
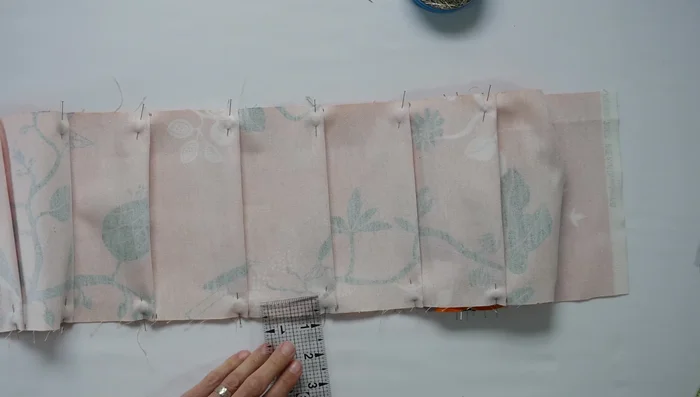
- Mark pleats on the wrong side of the fabric. The pattern is 6.5 inches, 1.5 inches, 3 inches, 1.5 inches, repeated.
- Use a ruler to transfer the marks from the top edge to the bottom edge of the side piece.
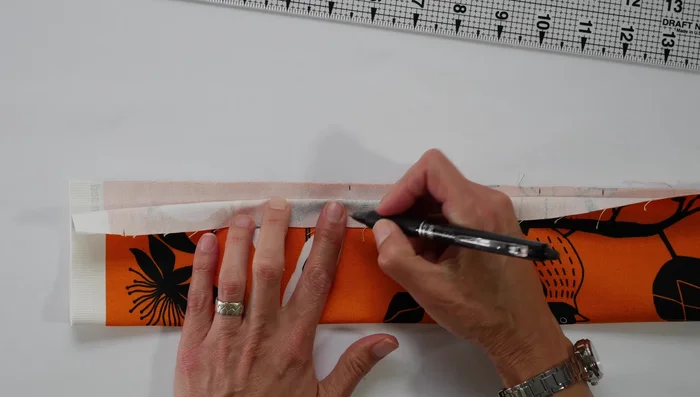
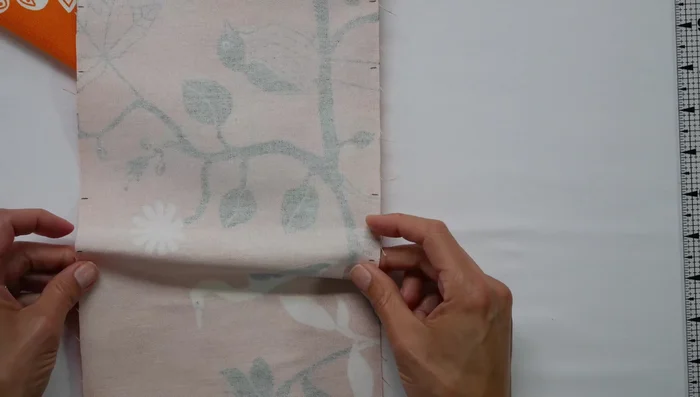
- Pinch and pin the fabric at the marked points to form the pleats. Ensure the pleats are all facing the same direction.
- Use your sewing machine to baste the pleats down. Iron the pleats flat.
Mark and Create Pleats Attach Top/Bottom to Side
- Pin one of the circular pieces to the side piece, starting from the center and working outwards. Leave approximately 4-5 inches unpinned at each end for overlap.
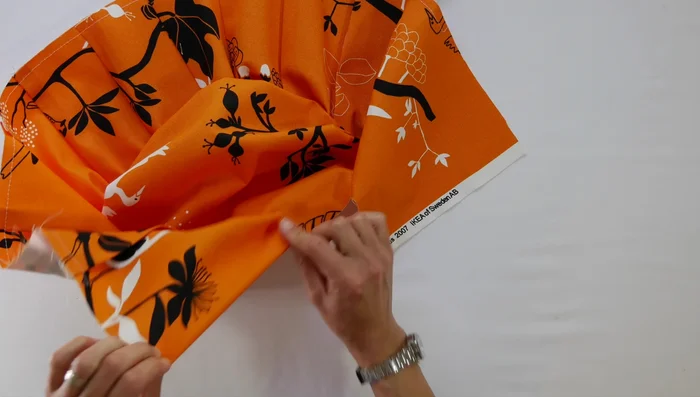
- Fold over the selvage (or raw edge) of one short end of the side piece, pin it down, then overlap and pin the second short end on top.
- Sew the pinned edges together using your sewing machine, using a 1/2 inch seam allowance. Press the seam flat.
Attach Top/Bottom to Side Attach Remaining Piece
- Pin the second circular piece to the side piece, mirroring the process in Step 8.
- Sew the pinned edges together, similar to Step 10.
Stuff and Close
- Fill the cushion with your chosen stuffing material. Make sure to distribute the stuffing evenly.
- Hand-stitch the opening closed. Use a simple knot to secure the thread.


Read more: Yoga for Strength and Flexibility: A Guided Practice with Blocks
Tips
- Use durable fabric that's not slippery.
- Use a straight pin to mark your circle instead of your thumb for more accuracy.
- Mix different types of stuffing before filling the cushion for an even feel.
- Iron your seams flat to create a clean finish.