Looking for a budget-friendly way to upgrade your home workouts? Forget expensive gym equipment! This DIY sandbag project shows you how to create a durable, 60-pound training tool for under $25. Using readily available materials like pea gravel, heavy-duty garbage bags, and duct tape, you can build a functional sandbag perfect for a wide range of exercises. This guide provides a step-by-step approach, ensuring a sturdy and safe sandbag that rivals expensive commercial alternatives. Get ready to experience the effectiveness of sandbag training without breaking the bank.This simple, three-step process requires minimal tools and effort, making it ideal for fitness enthusiasts on a budget. We’ll guide you through measuring and filling the bag with pea gravel, creating secure handles, and reinforcing the seams with multiple layers of duct tape for optimal durability. You'll learn how to achieve a strong, rectangular shape that's comfortable to handle and withstands intense workouts. Prepare to be amazed by the strength and functionality of your homemade sandbag – a cost-effective solution that delivers professional results.
Read more: Yoga Sandbag Filling Guide: A Step-by-Step Tutorial
Materials and Cost
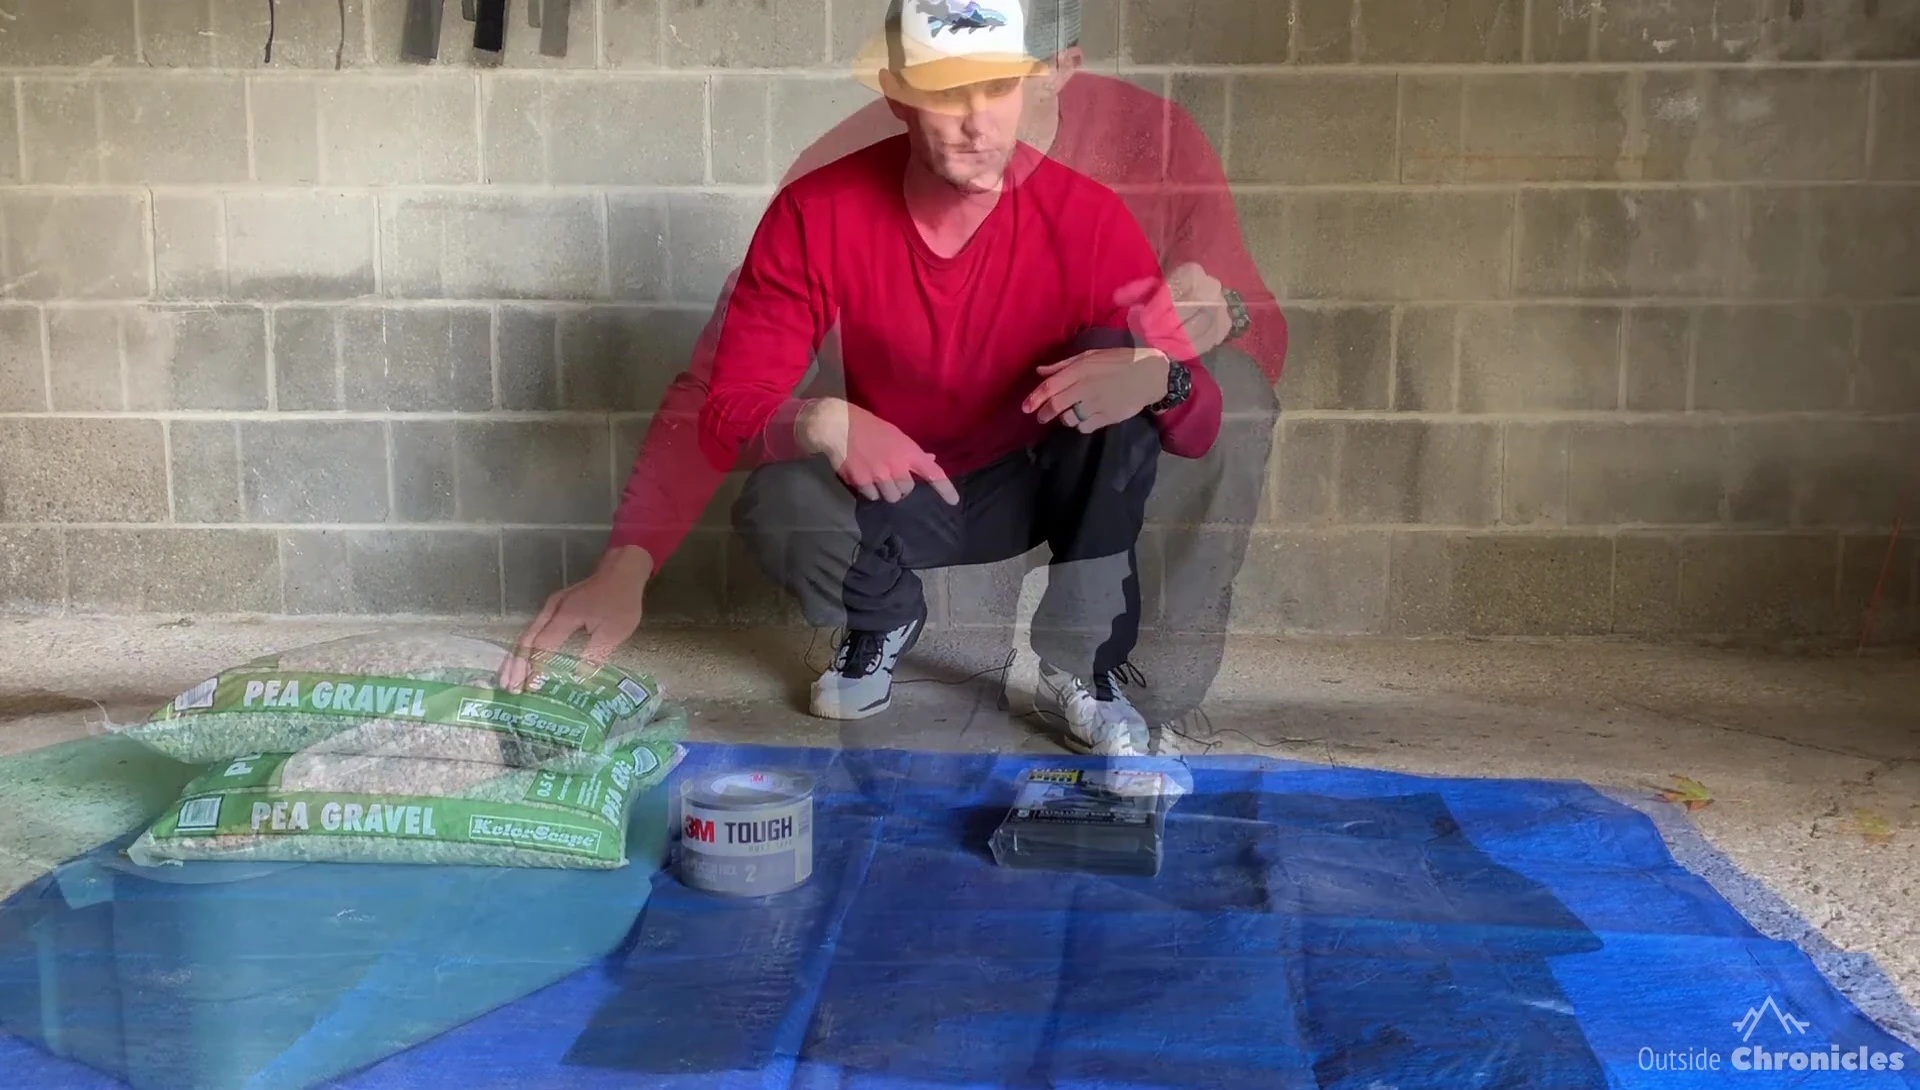
Creating a DIY sandbag is surprisingly affordable. My goal was to build a functional sandbag for under $20. I headed to Lowe's and purchased all the necessary materials for approximately $25. This included pea gravel, heavy-duty garbage bags, and a contractor's pack of 3M duct tape. The pea gravel provided the weight, the bags formed the sandbag's structure, and the duct tape ensured its durability.
The specific quantities I bought included half a cubic foot of pea gravel (enough for two sandbags), and a 5-pack of heavy-duty 42-gallon garbage bags. The cost of these materials was extremely budget-friendly and well worth the savings. I even used some gravel I already had in my backyard to increase the weight of one of my bags.
Sandbag Construction
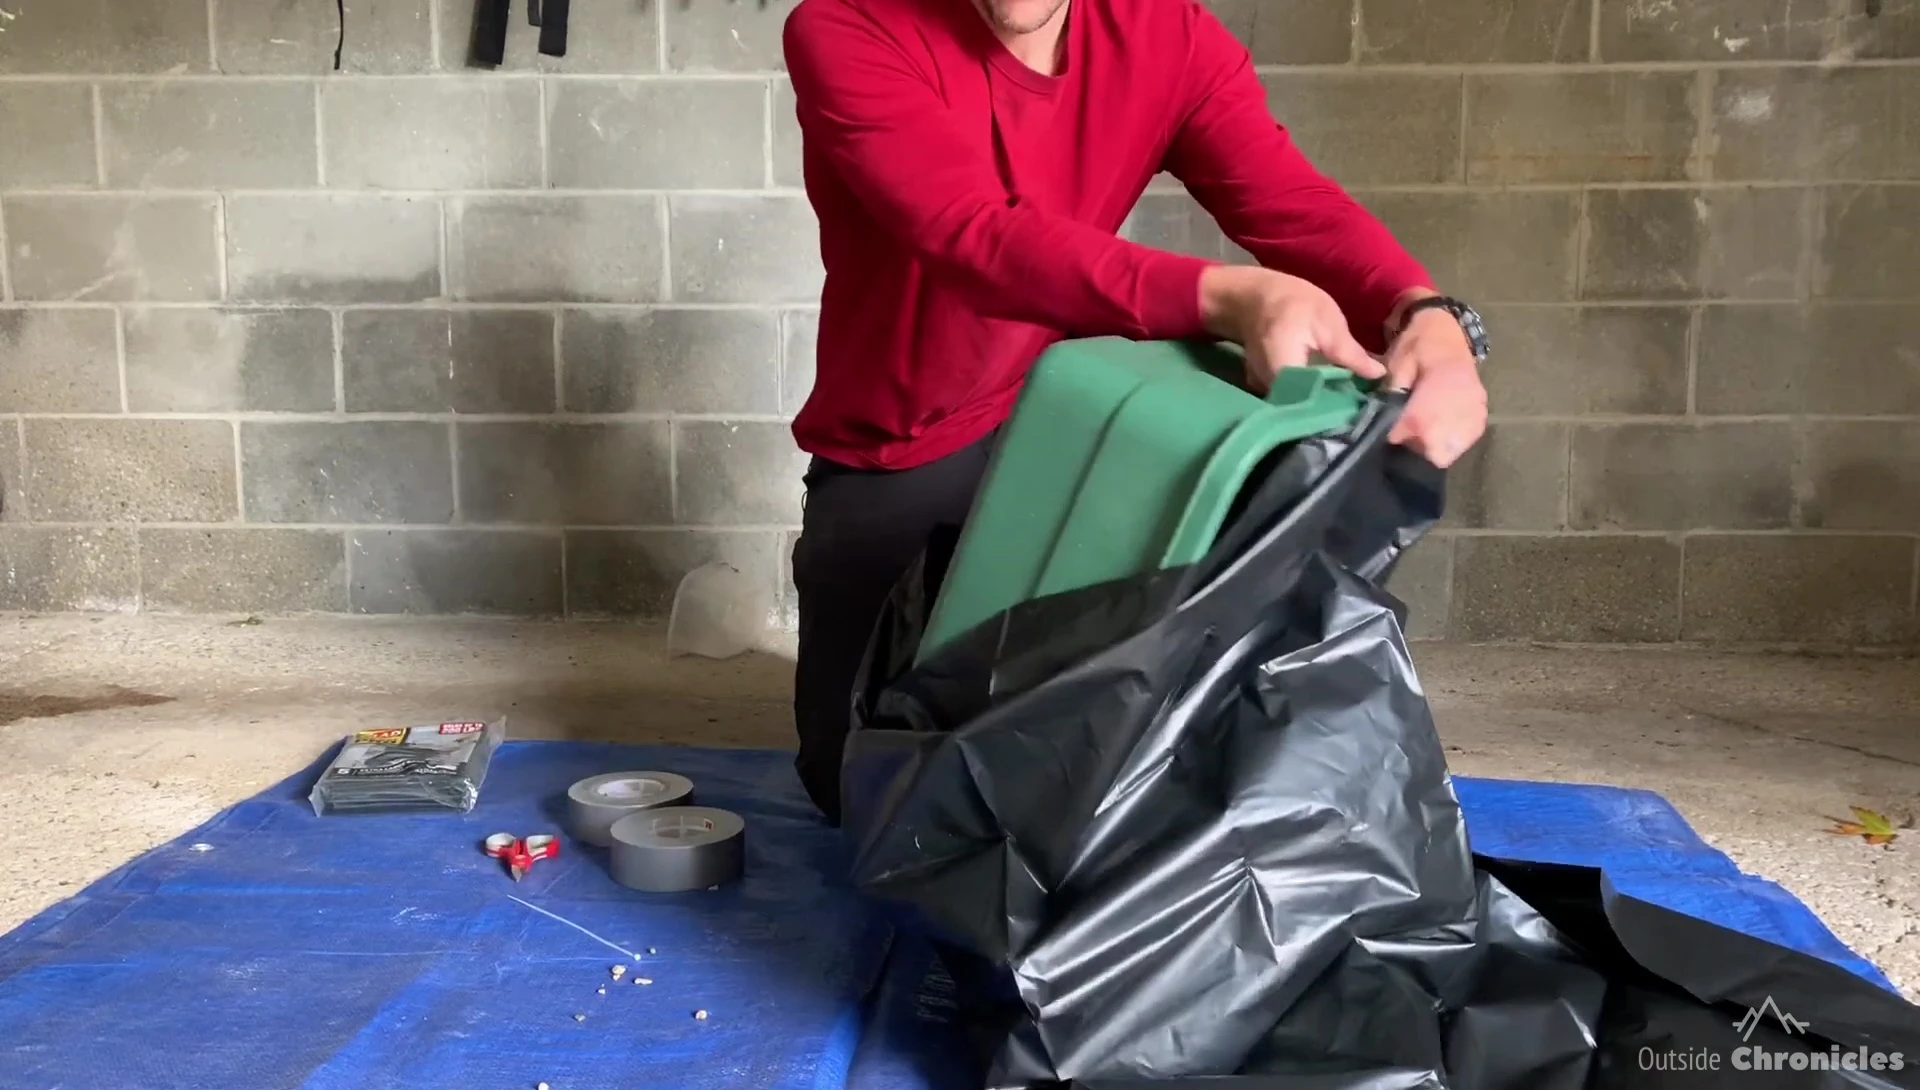
I started by measuring out approximately 60 pounds of pea gravel. This amount was ideal for a sandbag of the desired size – roughly shoulder-width. I carefully poured the pea gravel into a heavy-duty garbage bag, shaping it as I went. The goal was to create a bag that wasn't overly compact, allowing for some give during exercise.
Once filled, I carefully shaped the bag into a roughly rectangular shape, and then began sealing it with multiple layers of duct tape. This is crucial to ensure the bag's durability and to prevent leakage. The thicker the tape layers, the stronger the sandbag.
Handle Creation and Final Touches
To create comfortable and strong handles, I used more duct tape. I folded a long piece of tape in half, creating a double layer for added strength. This doubled-over tape was then wrapped around the top of the sandbag to form the handles. I wrapped the handles multiple times to secure them tightly to the bag’s structure.
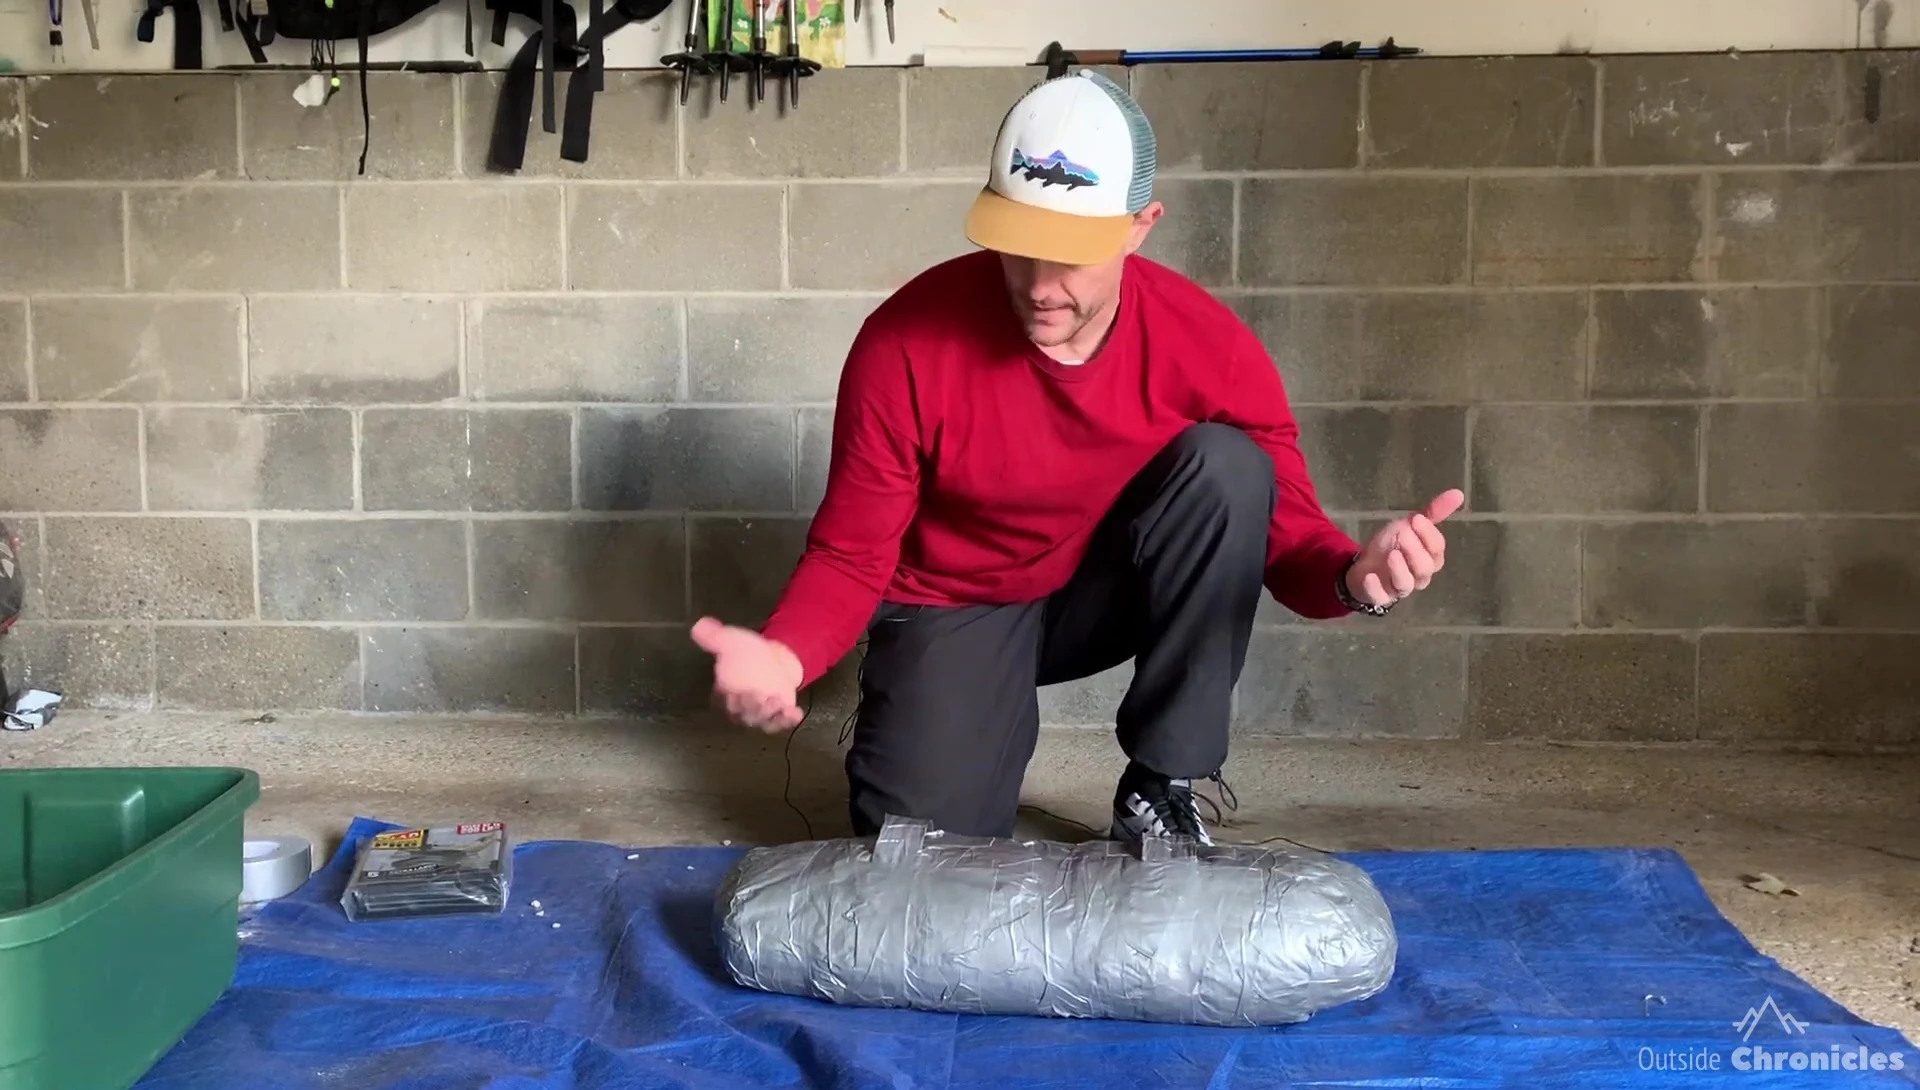
After securing the handles, I added extra layers of duct tape all around the sandbag for reinforcement. This ensured that there were no weak points. The result is a sturdy, well-made sandbag ready for intense workouts.
Conclusion
Creating a homemade sandbag is a cost-effective and rewarding project. For under $25, I successfully constructed a durable 60-pound sandbag perfect for a variety of exercises. The process is straightforward and requires minimal tools, making it accessible to anyone interested in improving their home workouts. This simple project is far cheaper than buying a pre-made sandbag and provides great value for money.
The resulting sandbag is surprisingly sturdy and functional. It provides a great alternative to expensive commercial options, offering the same versatility and effectiveness in training. Remember to prioritize creating strong handles and thoroughly reinforcing the seams with duct tape for maximum safety and longevity. Give it a try!