Spinal decompression, the process of relieving pressure on the spine, offers significant relief for those suffering from back pain, stiffness, and related conditions. While traditional methods exist, incorporating yoga sling inversions provides a unique and accessible approach to gentle spinal decompression. This innovative technique leverages the support of a yoga sling to safely and effectively decompress the spine, improving posture, flexibility, and overall well-being. It's a powerful tool that allows you to deepen your stretches and experience the benefits of inversion without the intensity of traditional headstands or handstands.
This guide provides a comprehensive, step-by-step approach to mastering several yoga sling inversions specifically designed for spinal decompression. From preparing your body and choosing the right sling to executing the inversions safely and effectively, we’ll walk you through the entire process, equipping you with the knowledge and confidence to incorporate these powerful poses into your practice.
Preparation and Safety Guidelines
- Consult your doctor or physical therapist before starting any new yoga practice, especially inversions, particularly if you have pre-existing neck, back, or inner ear issues, high blood pressure, glaucoma, or heart conditions.
- Start slowly and gradually increase the duration and intensity of your inversions. Never force yourself into a pose. Listen to your body and stop if you feel any pain.
- Use proper technique and support. Ensure the yoga sling is securely attached and properly adjusted to your body. Have a spotter assist you, especially when beginning.
Step-by-Step Instructions
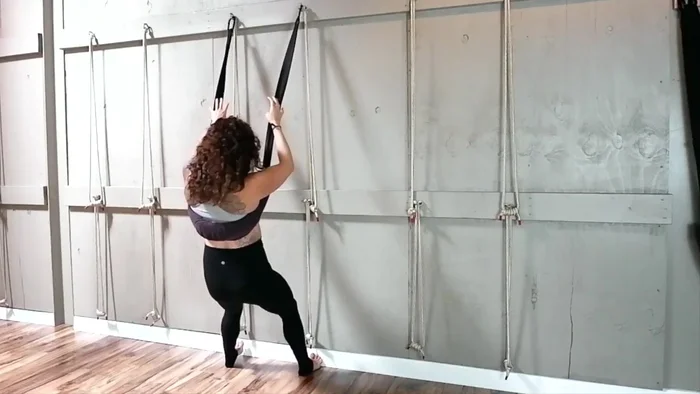
Setting Up
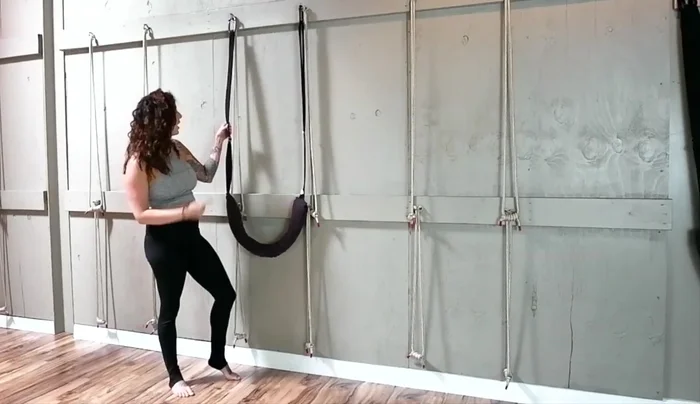
- Face the wall, place the sling behind you, thumbs inside, fingers outside.
- Align the sling with your sacrum (the flat bone just above your buttocks).
- Press the sling down firmly to secure it against your body.

Setting Up Entering the Inversion
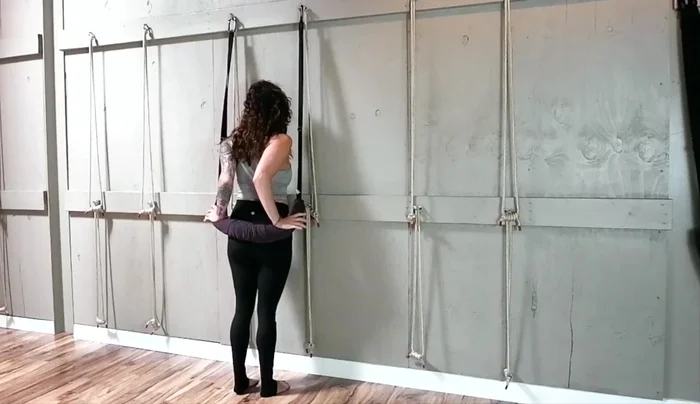
- Slowly shift your weight back into the sling.
- Lean back gently, one hand at a time, using the wall for support. Adjust the sling as needed.
- Lift one knee, then the other. Ensure the sling remains secure throughout.
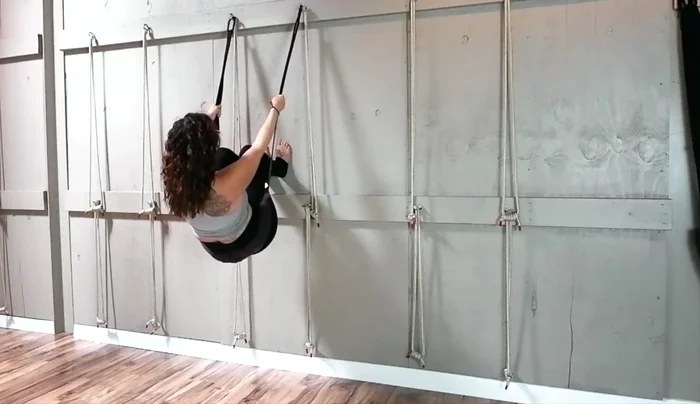
- Step one foot up, then the other, bringing your knees just behind the sling.
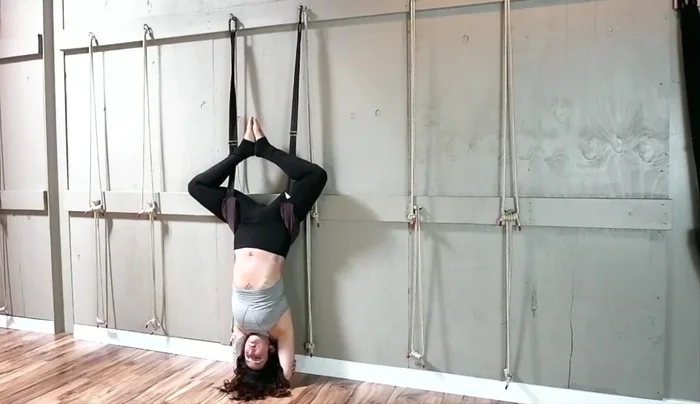
Entering the Inversion - Press your knees open, and gently slide your hands down the sling as you move into the inversion.
- Relax your body, either keeping hands for support or letting them hang.
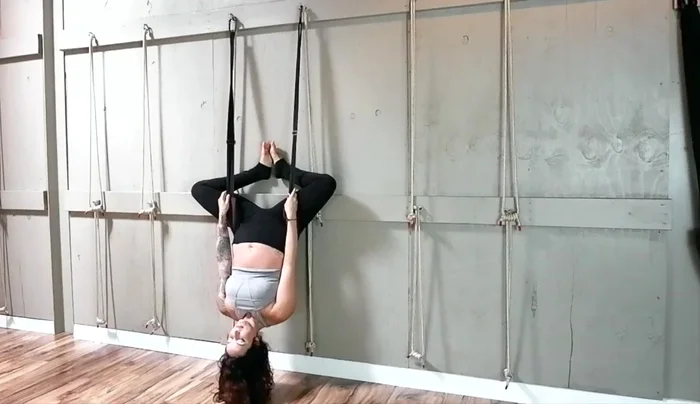
- adjust foot position (together or hooked around the sling).
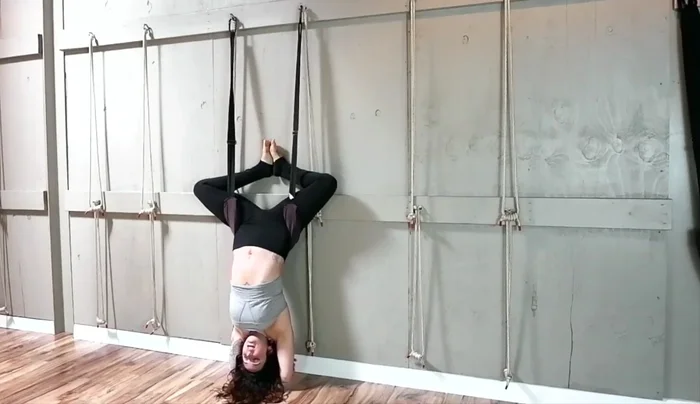
Entering the Inversion Maintaining the Inversion
- Maintain a comfortable inversion for 1-3 minutes, regulating your breath.
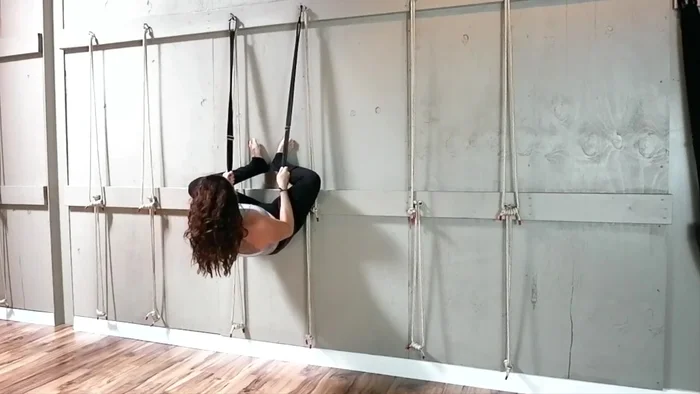
Maintaining the Inversion Exiting the Inversion
- To exit, look at your navel, and grab the sling just below your calves.
- Pull yourself up slightly, then slide your hands higher on the sling.
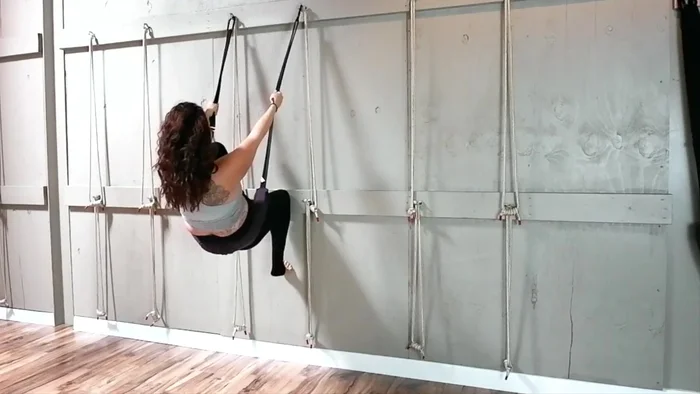
- Slowly come down to one knee, then the other, pausing halfway.
- Step back to a standing position.
Exiting the Inversion Counter-Stretch
- Perform a gentle counter-stretch.
Counter-Stretch


Read more: Reclined Strap Stretches for Hamstrings and Hips: A Guided Yoga Routine
Tips
- Go slow entering and exiting the inversion to avoid dizziness.
- If you feel nauseous, stop immediately and come out of the inversion.
- If the sling slides during the transition, pause, reset, and try again.
- For beginners, start with 1 minute in the inversion and gradually increase the duration.
- Regulate your breathing throughout the inversion.