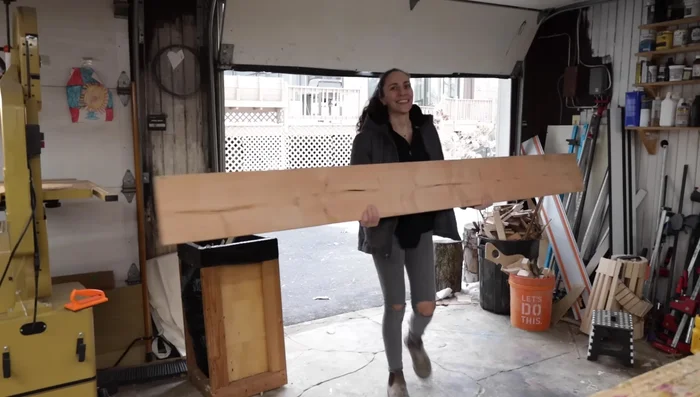
Tired of cramped workspaces and the frustration of unstable work surfaces? Do you dream of a versatile, portable workbench that can handle any project, no matter where you are? Then prepare to unleash your inner craftsman with this ultimate DIY guide to building a portable workbench boasting serious clamping power. Forget flimsy folding tables and rickety sawhorses; this project will empower you to create a robust and reliable workspace that travels with you. We'll be focusing on a design that's both sturdy and easily transported, perfect for the discerning DIY enthusiast who values both practicality and mobility.
This guide will walk you through every step of the construction process, from selecting the right materials and tools to mastering the intricacies of integrated clamping systems. We'll cover everything from cutting and assembling the frame to adding the crucial clamping mechanisms that transform this workbench from simply portable to truly powerful. Ready to get started? Let's dive into the step-by-step instructions.
Preparation and Safety Guidelines
- 2x10 lumber
- Wood glue
- CA glue
- Brads
- Drill
- Drill press (optional)
- Three-quarter inch drill bit
- One-inch drill bit
- Metal bushing (optional)
- Drill bit extender (optional)
- Overdrive bit
- Vise
- Miter saw
- Planer (optional)
- Hand plane/electric hand planer/belt sander (optional)
- Tape measure
- Pencil
- Plywood scraps
- Square nuts
- Threaded rods
- Clamps
- Router with pattern bit
- Forstner bit
- Chamfer bit
- Trim router
- Lag bolts
- Washers
- Knobs
- Block plane
- Table saw with crosscut sled and stop block
- Calipers
- Exacto knife
- Flush trim bit
- Bench dogs
- Inline adjustable dog clamps
- Vertical dog hole screw clamps
- Holdfasts
- Always wear safety glasses when using power tools and handling sharp materials. Eye protection is crucial to prevent serious injury.
- Ensure proper ventilation when working with paints, stains, or finishes. Use respiratory protection if necessary and work in a well-ventilated area.
- Use appropriate clamps to secure your workpieces firmly before operating power tools. Loose work can lead to kickback and injury.
Step-by-Step Instructions
Prepare the Workbench Top
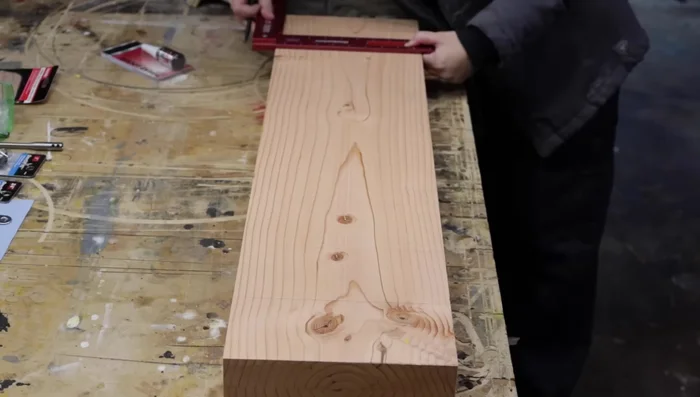
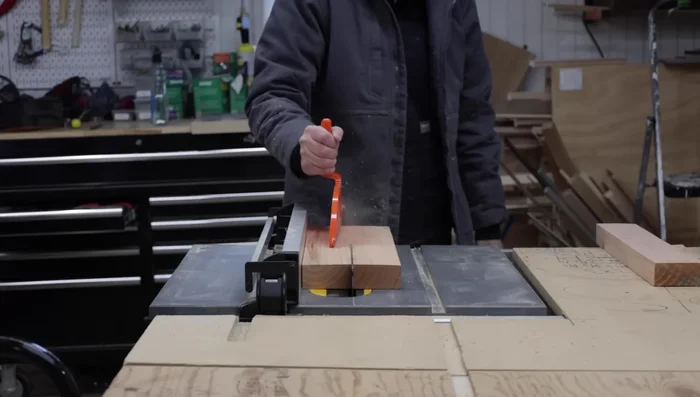
- Cut the 2x10 into two pieces slightly longer than 36 inches and prepare them for lamination.
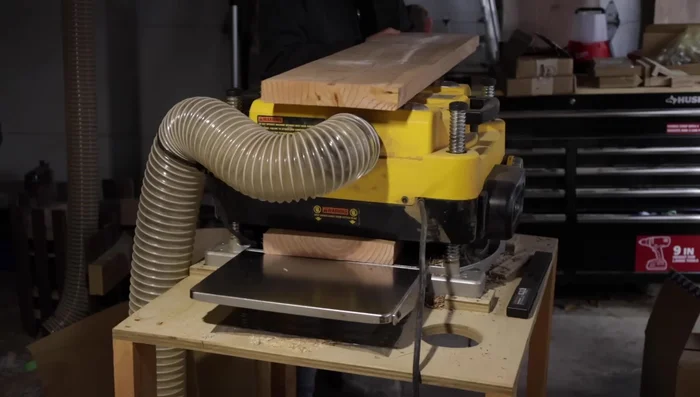
- Flatten the surfaces of the 2x10 pieces using a planer, hand plane, electric hand planer, or belt sander.
- Glue the two pieces together to create a thicker board.
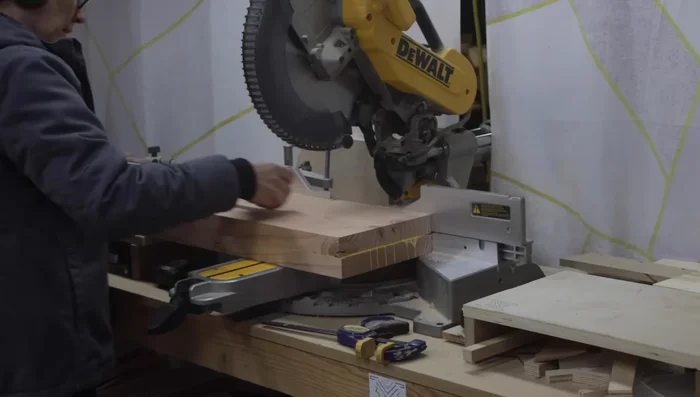
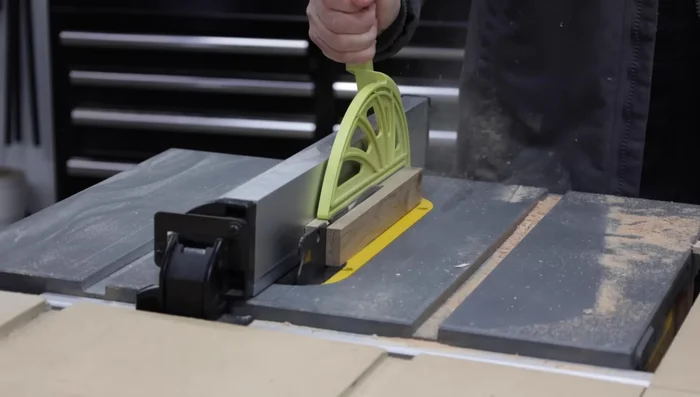
- Square off the ends of the laminated board to achieve a final length of 36 inches.

Prepare the Workbench Top Create and Use the Drilling Jig
- Create a drilling jig from plywood scraps to ensure accurate dog hole placement.
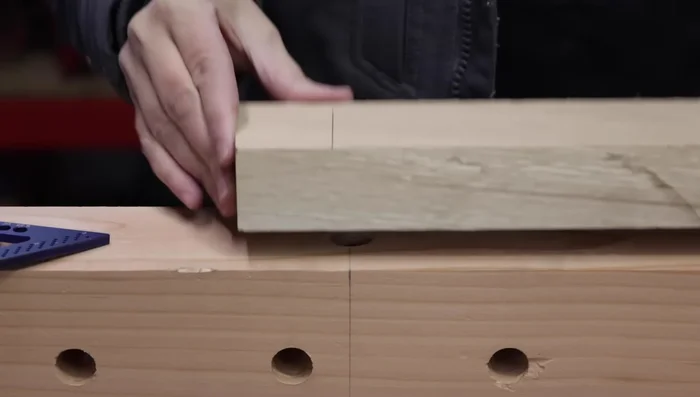
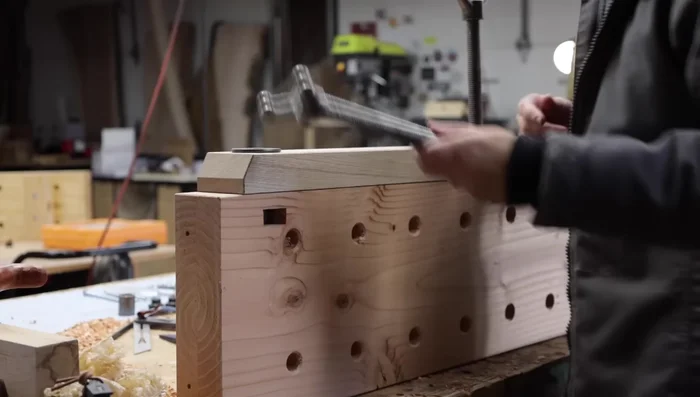
- Drill 16 dog holes (three-quarter inch) spaced four inches apart and two inches from the edges of the workbench top using the jig.
- Drill holes in the sides of the bench for additional clamping options using the jig.
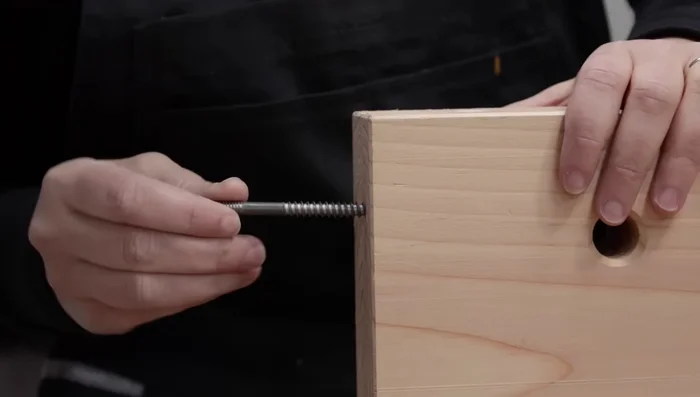
Create and Use the Drilling Jig Install the Twin Screw Vise
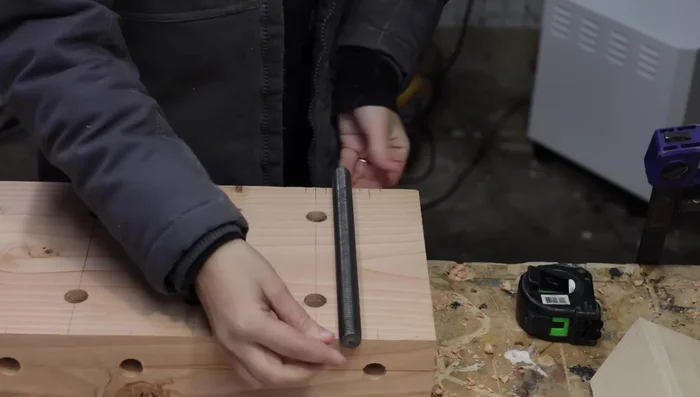
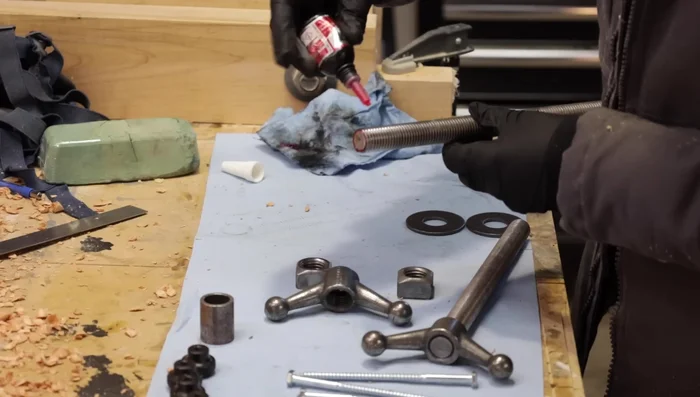
- Install the twin screw vise, embedding the threaded rods into the bench.
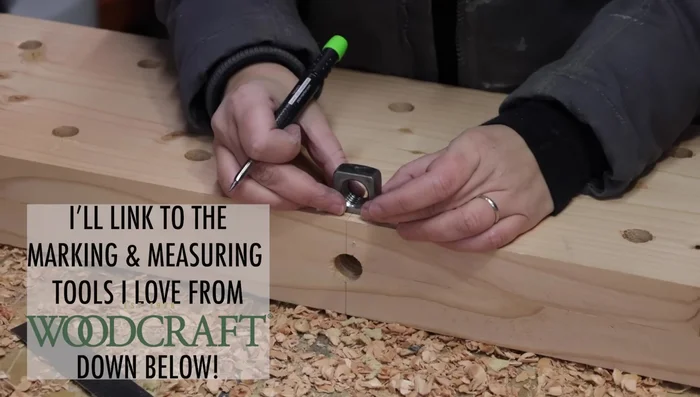
- Create mortises for the square nuts to securely hold the threaded rods.
- Drill oval holes for the vise jaws.
- Permanently attach the vise handles to the threaded rods using thread locker.
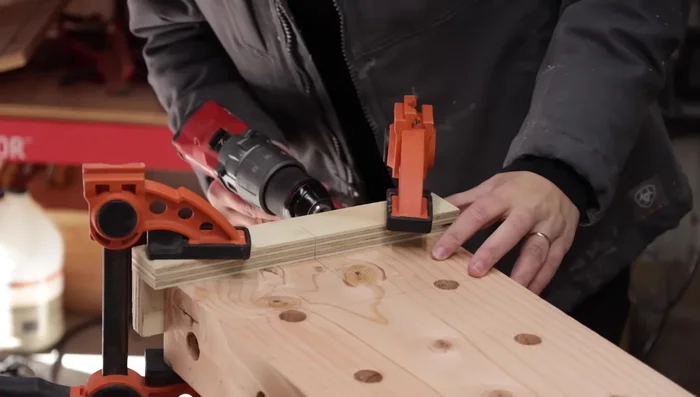
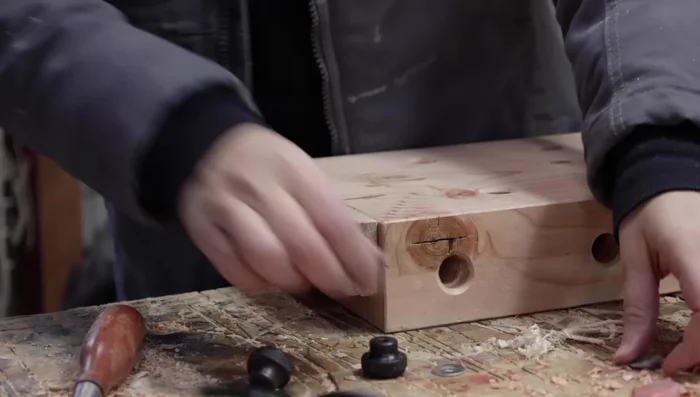
Install the Twin Screw Vise Add Plane Stops and Feet
- Create plane stops at both ends of the bench.
- Construct raised feet for clamping the bench to various surfaces.
Add Plane Stops and Feet Finishing Touches
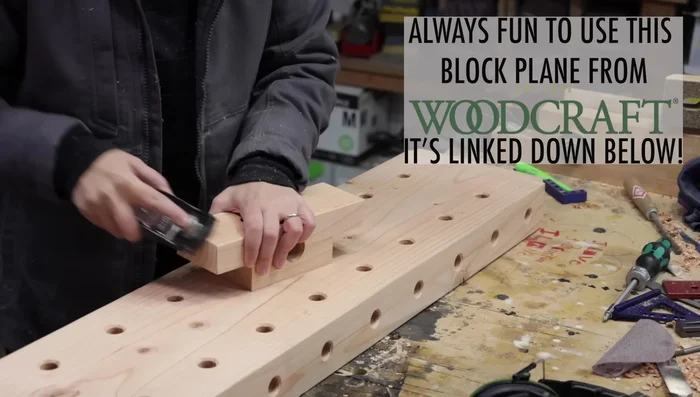
- Smooth and chamfer all edges of the bench for comfort and safety.
- Install plane stops and raised feet using bolts, washers, and knobs.
- Line the vise jaws with crubber for improved gripping strength.
- Install the vise jaws.
Finishing Touches
Read more: Kind Seat: The Ultimate Adjustable Meditation Seat for Comfort and Convenience
Tips
- Ensure the grain direction on the laminated boards runs in opposite directions to prevent warping.
- Use a bushing in the drilling jig for cleaner holes (optional). Ensure the bushing is flush with the bottom of the jig to prevent binding.
- Use an overdrive bit for clean, quick hole drilling.
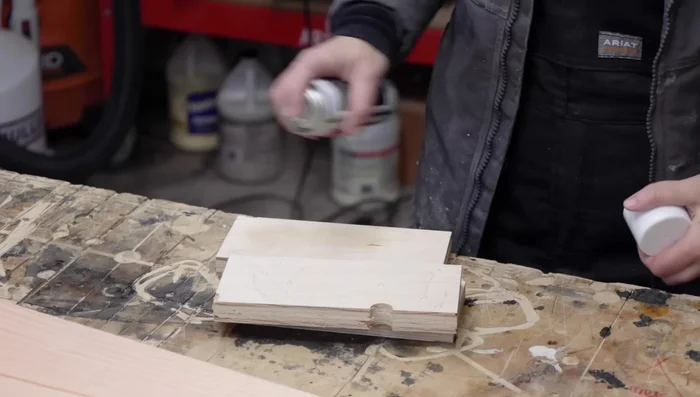
- Use CA glue to speed up the gluing process (optional).
- Use a flush trim bit and router to clean up the crubber around the vise rods.