Are you looking for a simple yet stylish way to organize your belongings, or perhaps a quick and satisfying sewing project? Then look no further! This DIY zipper pouch tutorial is perfect for beginners and experienced sewers alike. Whether you need a handy case for your makeup, a travel companion for your essentials, or just a fun crafting project to unwind with, this project offers a rewarding experience with minimal effort and maximum impact. You’ll be amazed at how quickly you can whip up a beautiful, functional pouch that perfectly suits your needs and style.
Creating your own zipper pouch is surprisingly straightforward, requiring only basic sewing skills and readily available materials. Forget expensive store-bought options – learn to personalize your organization with a custom-made pouch! This tutorial provides a clear and concise guide to crafting your own, from selecting fabric to the final stitch. Ready to get started? Let's dive into the step-by-step instructions below.
Preparation and Safety Guidelines
- Fabric (main and lining)
- Zipper (30 inch)
- Cord
- Marker
- Sewing machine
- Zipper foot
- Scissors
- Pins
- Iron
- Serger (optional)
- Always use sharp sewing machine needles and sharp scissors to prevent fabric from being pulled or damaged, and to ensure clean cuts.
- Be mindful of your fingers when using zippers! Keep them out of the way of the zipper teeth and needle.
- If using pins, carefully remove all pins before sewing to avoid damaging your sewing machine needle.
Step-by-Step Instructions
Prepare Materials
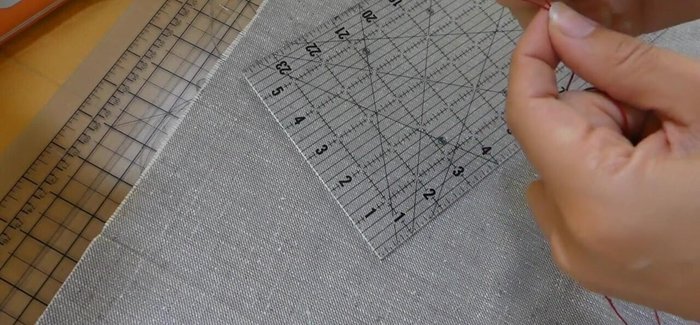
- Two 28x9 inch rectangles (main and lining), two 7-inch diameter circles (main and lining), and a 5x35 inch strip for the strap.
- Draw circles using a cord and marker for accurate measurements.

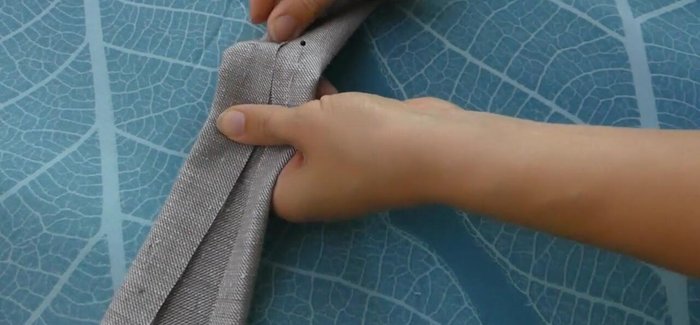
Prepare Materials Make the Strap
- Press the long edges of the 5x35 inch strip 1 inch to the inside, fold in half, and top stitch along both long sides.
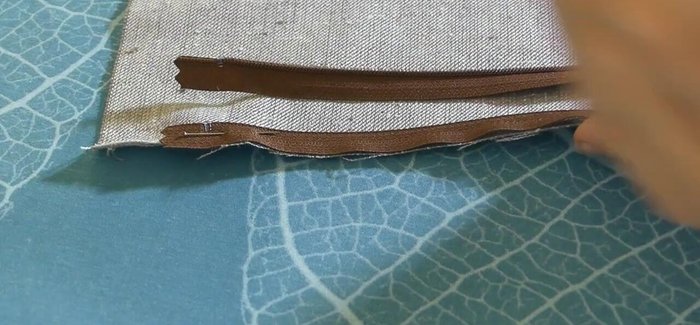
Make the Strap Attach Zipper to Outer Fabric
- Place the zipper right side facing the right side of the outer fabric, coil facing inward, and stitch along the coil using a zipper foot. Repeat for the other side.
Attach Zipper to Outer Fabric Attach Lining to Zipper
- Pin the right side of the lining to the wrong side of the zipper, coil facing inward, and sew through the zipper ribbon, lining, and outer fabric.
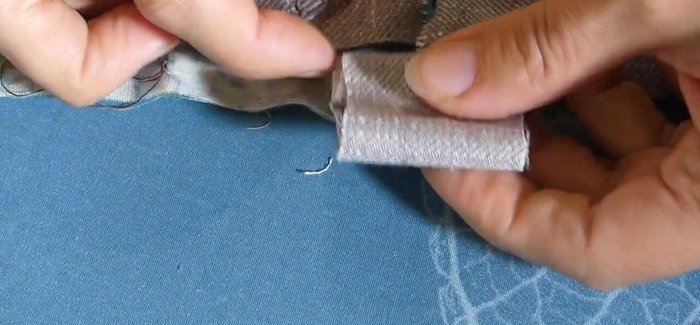
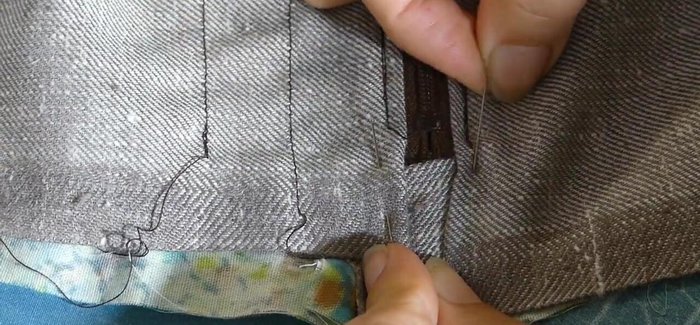
Attach Lining to Zipper Finish Zipper Ends
- If the zipper is shorter than the fabric, add a small fabric wrap around each end, sandwiching the zipper end between the outer and inner fabric. Fold, pin, and top stitch.
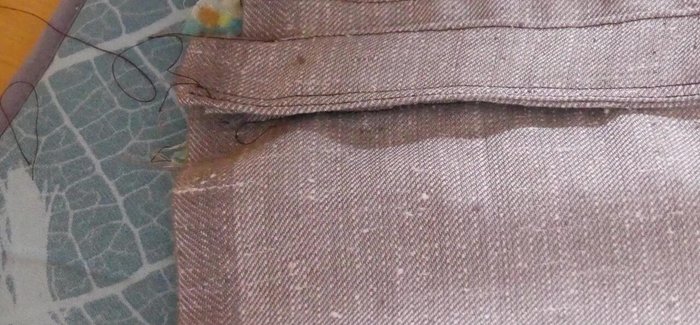
Finish Zipper Ends Top Stitch Zipper
- Top stitch along both sides of the zipper using a zipper foot to keep it close to the coil, going through both outer and inner fabrics.
Top Stitch Zipper Sew Pouch Sides
- Put the outer fabric panels together (right sides facing) and sew down the long end opposite the zipper. Repeat for the lining pieces.
Sew Pouch Sides Attach Strap
- Position the strap over the zipper ends, align raw edges, and pin to both main and inner fabric. Stay stitch both ends.
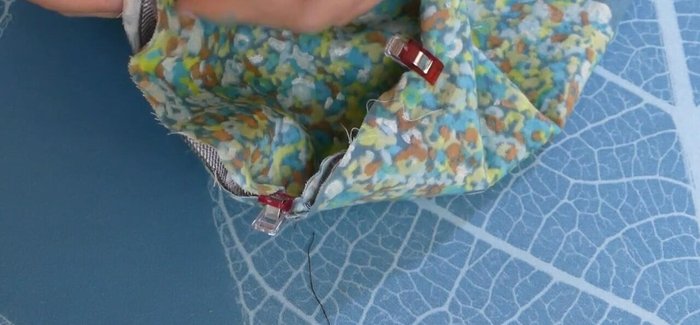
Attach Strap Attach Bottom Circles
- Place a circle of lining and outer fabric together (right sides together), sew, leaving a small opening. Repeat for the other side.
Attach Bottom Circles Finish Raw Edges
- Use a serger to finish the raw edges; otherwise, use a zig-zag stitch.
Finish Raw Edges


Tips
- Use a cord and marker to accurately draw the circles.
- Use an edge foot or quilt foot with a guide for straight stitching.
- Use a zipper foot to stay close to the coil when stitching the zipper.