Transforming humble sandbags into stylish garden accents is easier than you think! Tired of the drab, utilitarian look of standard sandbags weighing down your retaining wall or adding rustic charm to your pathway? With a little fabric and some basic sewing skills, you can elevate their appearance significantly, creating a personalized and aesthetically pleasing addition to your outdoor space. Imagine customized sandbag covers in vibrant colors or charming patterns, seamlessly blending with your existing garden design. The cost-effectiveness and creative freedom offered by this project are undeniable, making it a perfect choice for budget-conscious gardeners.
This DIY project provides a fantastic opportunity to upcycle and personalize your garden, breathing new life into practical items. Whether you're a seasoned sewist or a complete beginner, the following step-by-step instructions will guide you through the simple process of creating beautiful and functional sandbag covers. Let's get started on transforming those plain sandbags into eye-catching garden features!
Preparation and Safety Guidelines
- Sewing machine
- Measuring tape
- Pins or Clips
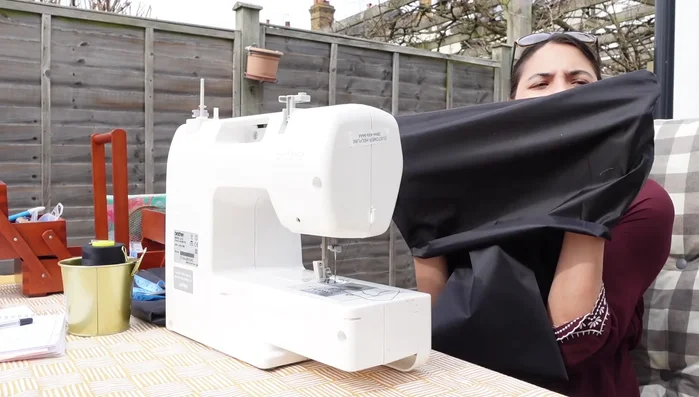
- Ripstop waterproof fabric
- Always use heavy-duty fabric like canvas or duck cloth. Lighter fabrics will tear easily under the weight of the sand.
- Ensure all seams are double-stitched and reinforced for extra strength to prevent rips and spills.
- Lifting filled sandbags can be strenuous. Ask for help if needed, and use proper lifting techniques to avoid injury.
Step-by-Step Instructions
Prepare the Fabric
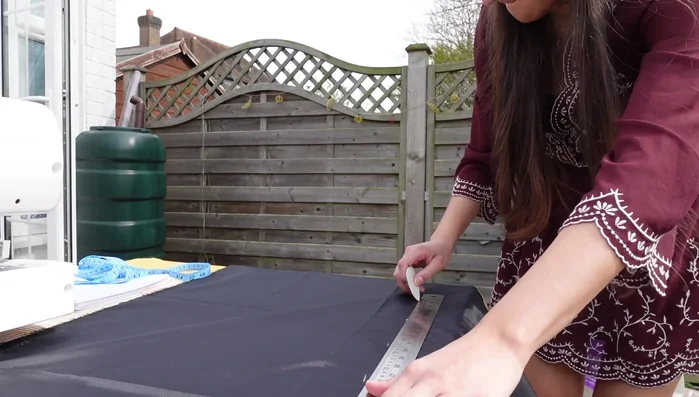
- Measure and cut fabric:
- Fold over both sides of the fabric rectangle until they meet in the middle with an overlap (approx 5cm).

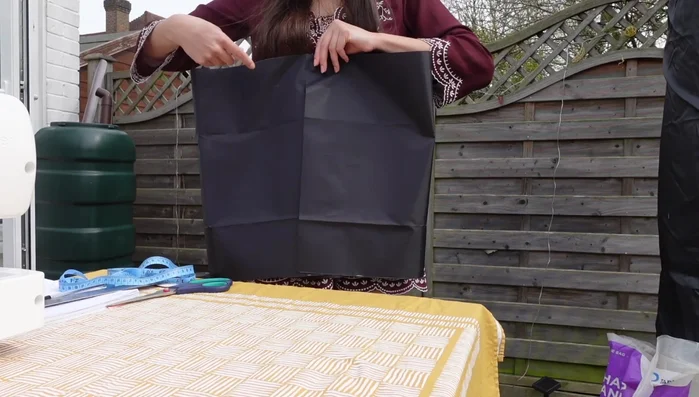
Prepare the Fabric Secure the Edges
- Pin or clip the overlapped edges together.
Secure the Edges Sew the Cover
- Sew along two parallel sides using a straight stitch.
Sew the Cover Finish and Insert
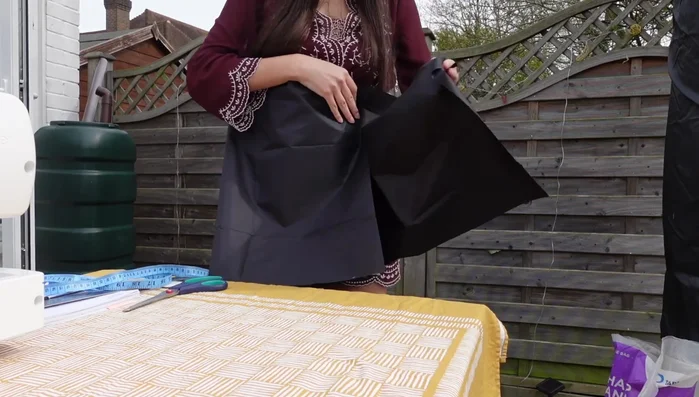
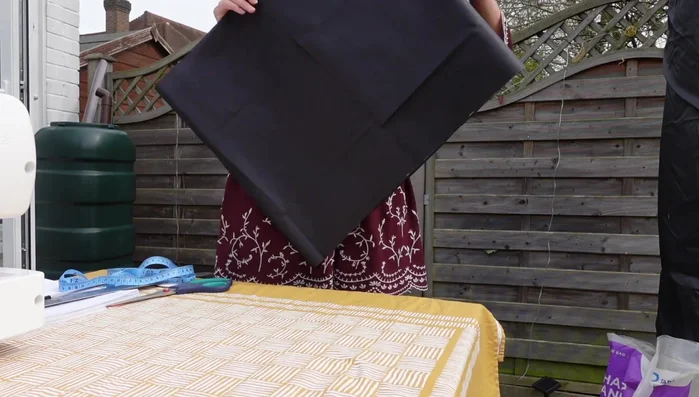
- Turn the fabric casing right side out and poke out the corners.
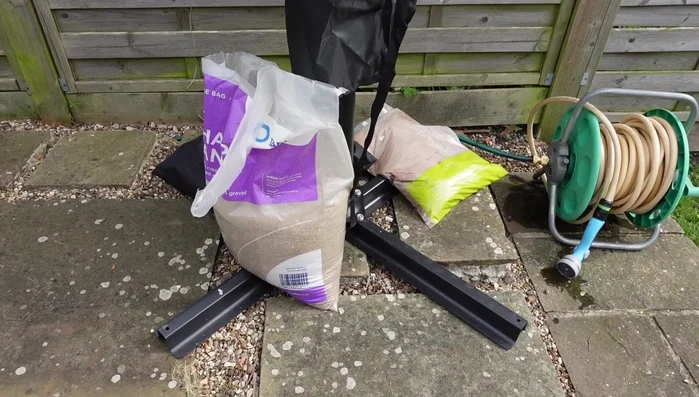
- Insert the sandbag into the cover.
Finish and Insert
Read more: How to Fill a Yoga Sandbag: A Step-by-Step Guide
Tips
- Use pins for better stability, but be aware they might compromise waterproofing if used with waterproof fabric. Clips are a good alternative for waterproof fabrics.
- Adjust the overlap based on your preference and fabric type. Consider the lack of stretch in the fabric when determining the width.
- The fabric doesn't need to be sewn on the exposed edges if it's non-fraying.