Tired of lugging your yoga mat around with its flimsy strap, or worse, no strap at all? Imagine carrying your mat with a stylish, handcrafted carrier that reflects your personal style and adds a touch of bohemian flair to your workout routine. This easy-to-follow tutorial will guide you through crocheting a stunning yoga mat strap, perfect for carrying your mat comfortably and adding a pop of personality to your yoga bag. Forget flimsy, easily broken straps; create a durable and beautiful accessory that you'll be proud to show off.
Learning to crochet a yoga mat strap is surprisingly simple, even for beginners. This project requires minimal supplies and utilizes basic crochet stitches, making it an accessible craft for anyone looking to enhance their yoga practice and unleash their inner crafter. Ready to get started on your beautiful, customized yoga mat strap? Let's dive into the step-by-step process!
Preparation and Safety Guidelines
- Stretchy yarn (e.g., 'In the Zone Knitcraft' by Hobbycraft, or any yarn of your choice)
- 4.5 mm crochet hook (or smaller, depending on your preference)
- Small hook (or yarn needle)
- Scissors
- Measuring tape
- Rings (metal, wooden, or any type you prefer)
- Use a sturdy yarn appropriate for carrying weight. Avoid lightweight or delicate yarns that might break under stress.
- Ensure your stitches are tight and secure to prevent the strap from unraveling or stretching excessively while carrying your yoga mat.
- Check the finished strap's strength before using it. Gently pull on it to test its durability. If you feel any weakness, reinforce the stitching.
Step-by-Step Instructions
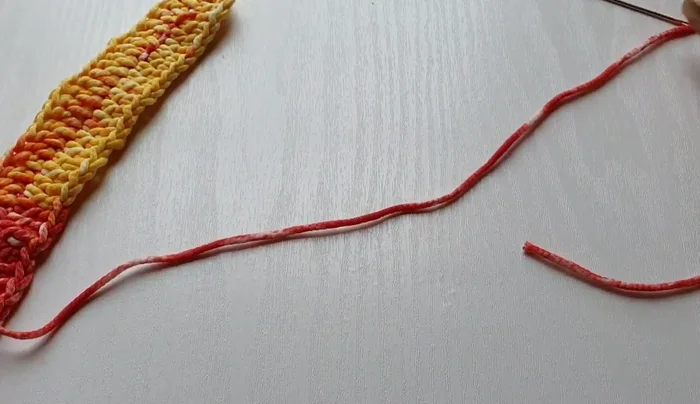
Create the Strap Base
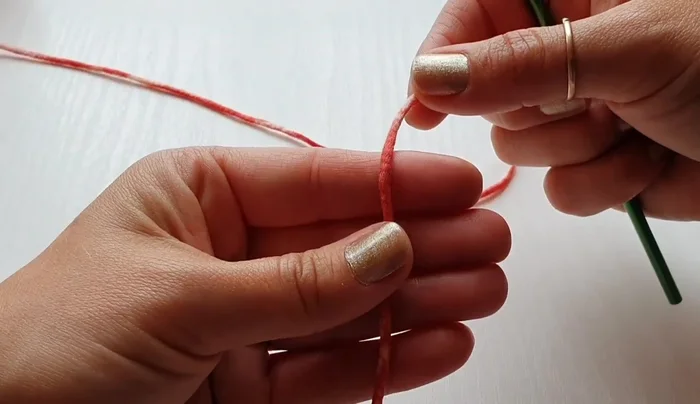
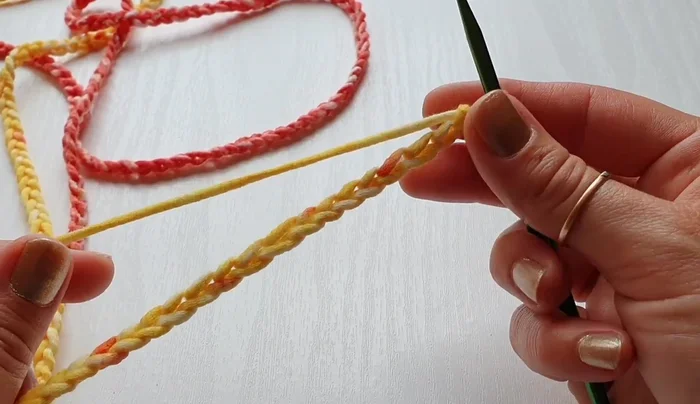
- Create a slip knot and chain 180 centimeters (approximately 260 chains). Maintain a consistent tension – not too tight, not too loose.
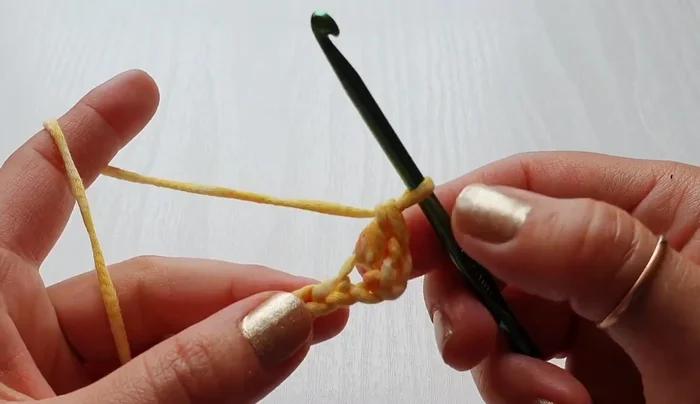
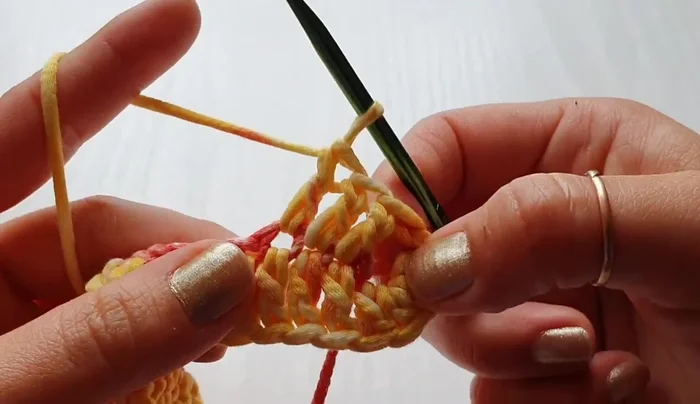
- Add three more chains. In the fourth chain from the hook, work a double crochet.
- Continue working double crochets across the chain, ensuring stitches are evenly spaced. In the last stitch, work four double crochets.
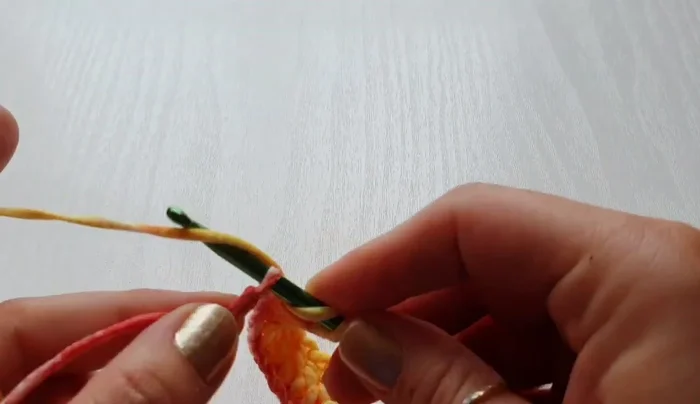
- Turn your work and double crochet in the same space as the previous stitches, creating a neat row.

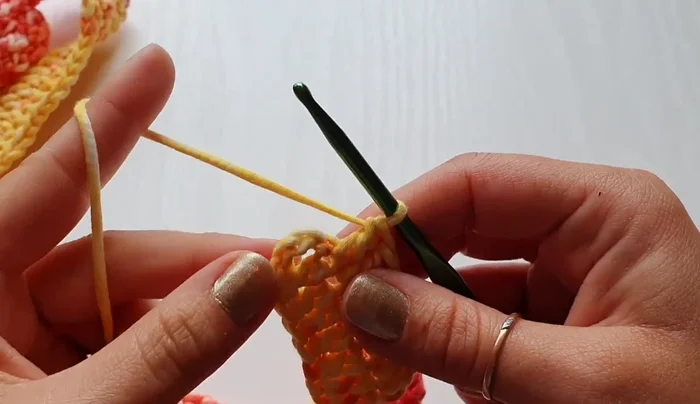
Create the Strap Base - Continue double crocheting until you reach the last stitch of the row. Work a double crochet into the last stitch. Repeat step 4 for the opposite side.
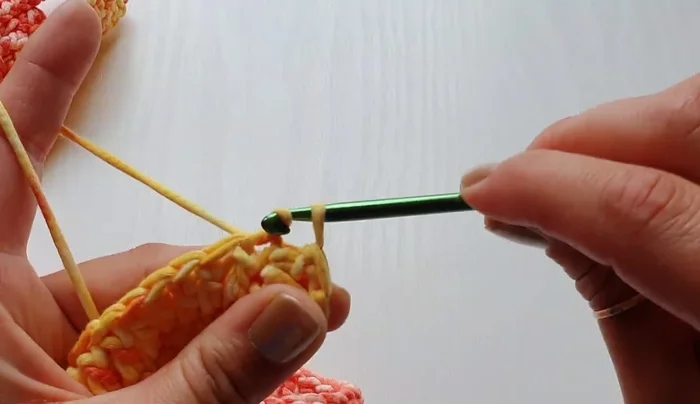
- At the beginning chain, work four double crochets in the same space you started.
- Slip stitch to close the round. Fasten off and weave in the ends.
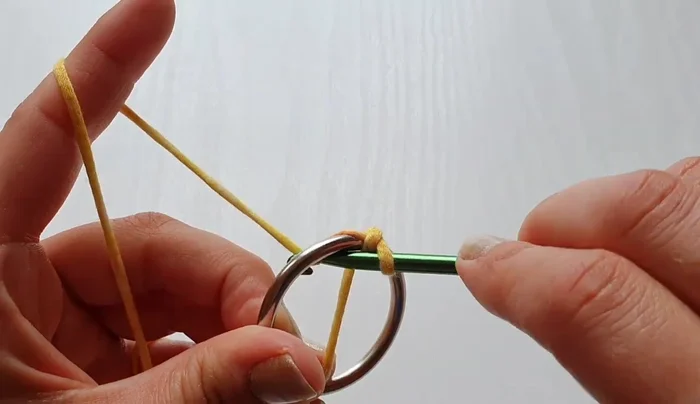
Create the Strap Base Prepare the Rings
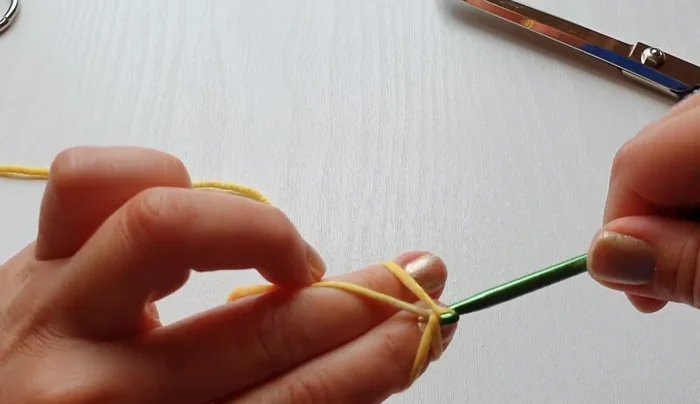
- Make a slip knot, then chain four. Insert the hook into the ring. Yarn over, pull up a loop. Yarn over again, and pull through both loops on your hook.
- Continue single crocheting around the ring until you have a nice, even circle. Slip stitch to join and fasten off.
Prepare the Rings Attach Rings to Strap
- Using a smaller hook (or yarn needle), sew the rings onto the strap, ensuring they are centered. Securely fasten off.
Attach Rings to Strap
Read more: How to Make Incredibly Strong Yoga Mat Straps Using I-Cord
Tips
- Use a smaller hook size (4.5 mm instead of 6 mm) for a tighter stitch.
- Maintain consistent tension throughout the crocheting process.
- Leave longer yarn tails for easy sewing and weaving in ends.
- Use a yarn needle or small hook to neatly weave in the ends.